April 03, 2018: Follow this updated tutorial instead.
This tutorial provides the steps for setting up a basic full-width widgetized homepage in Genesis.
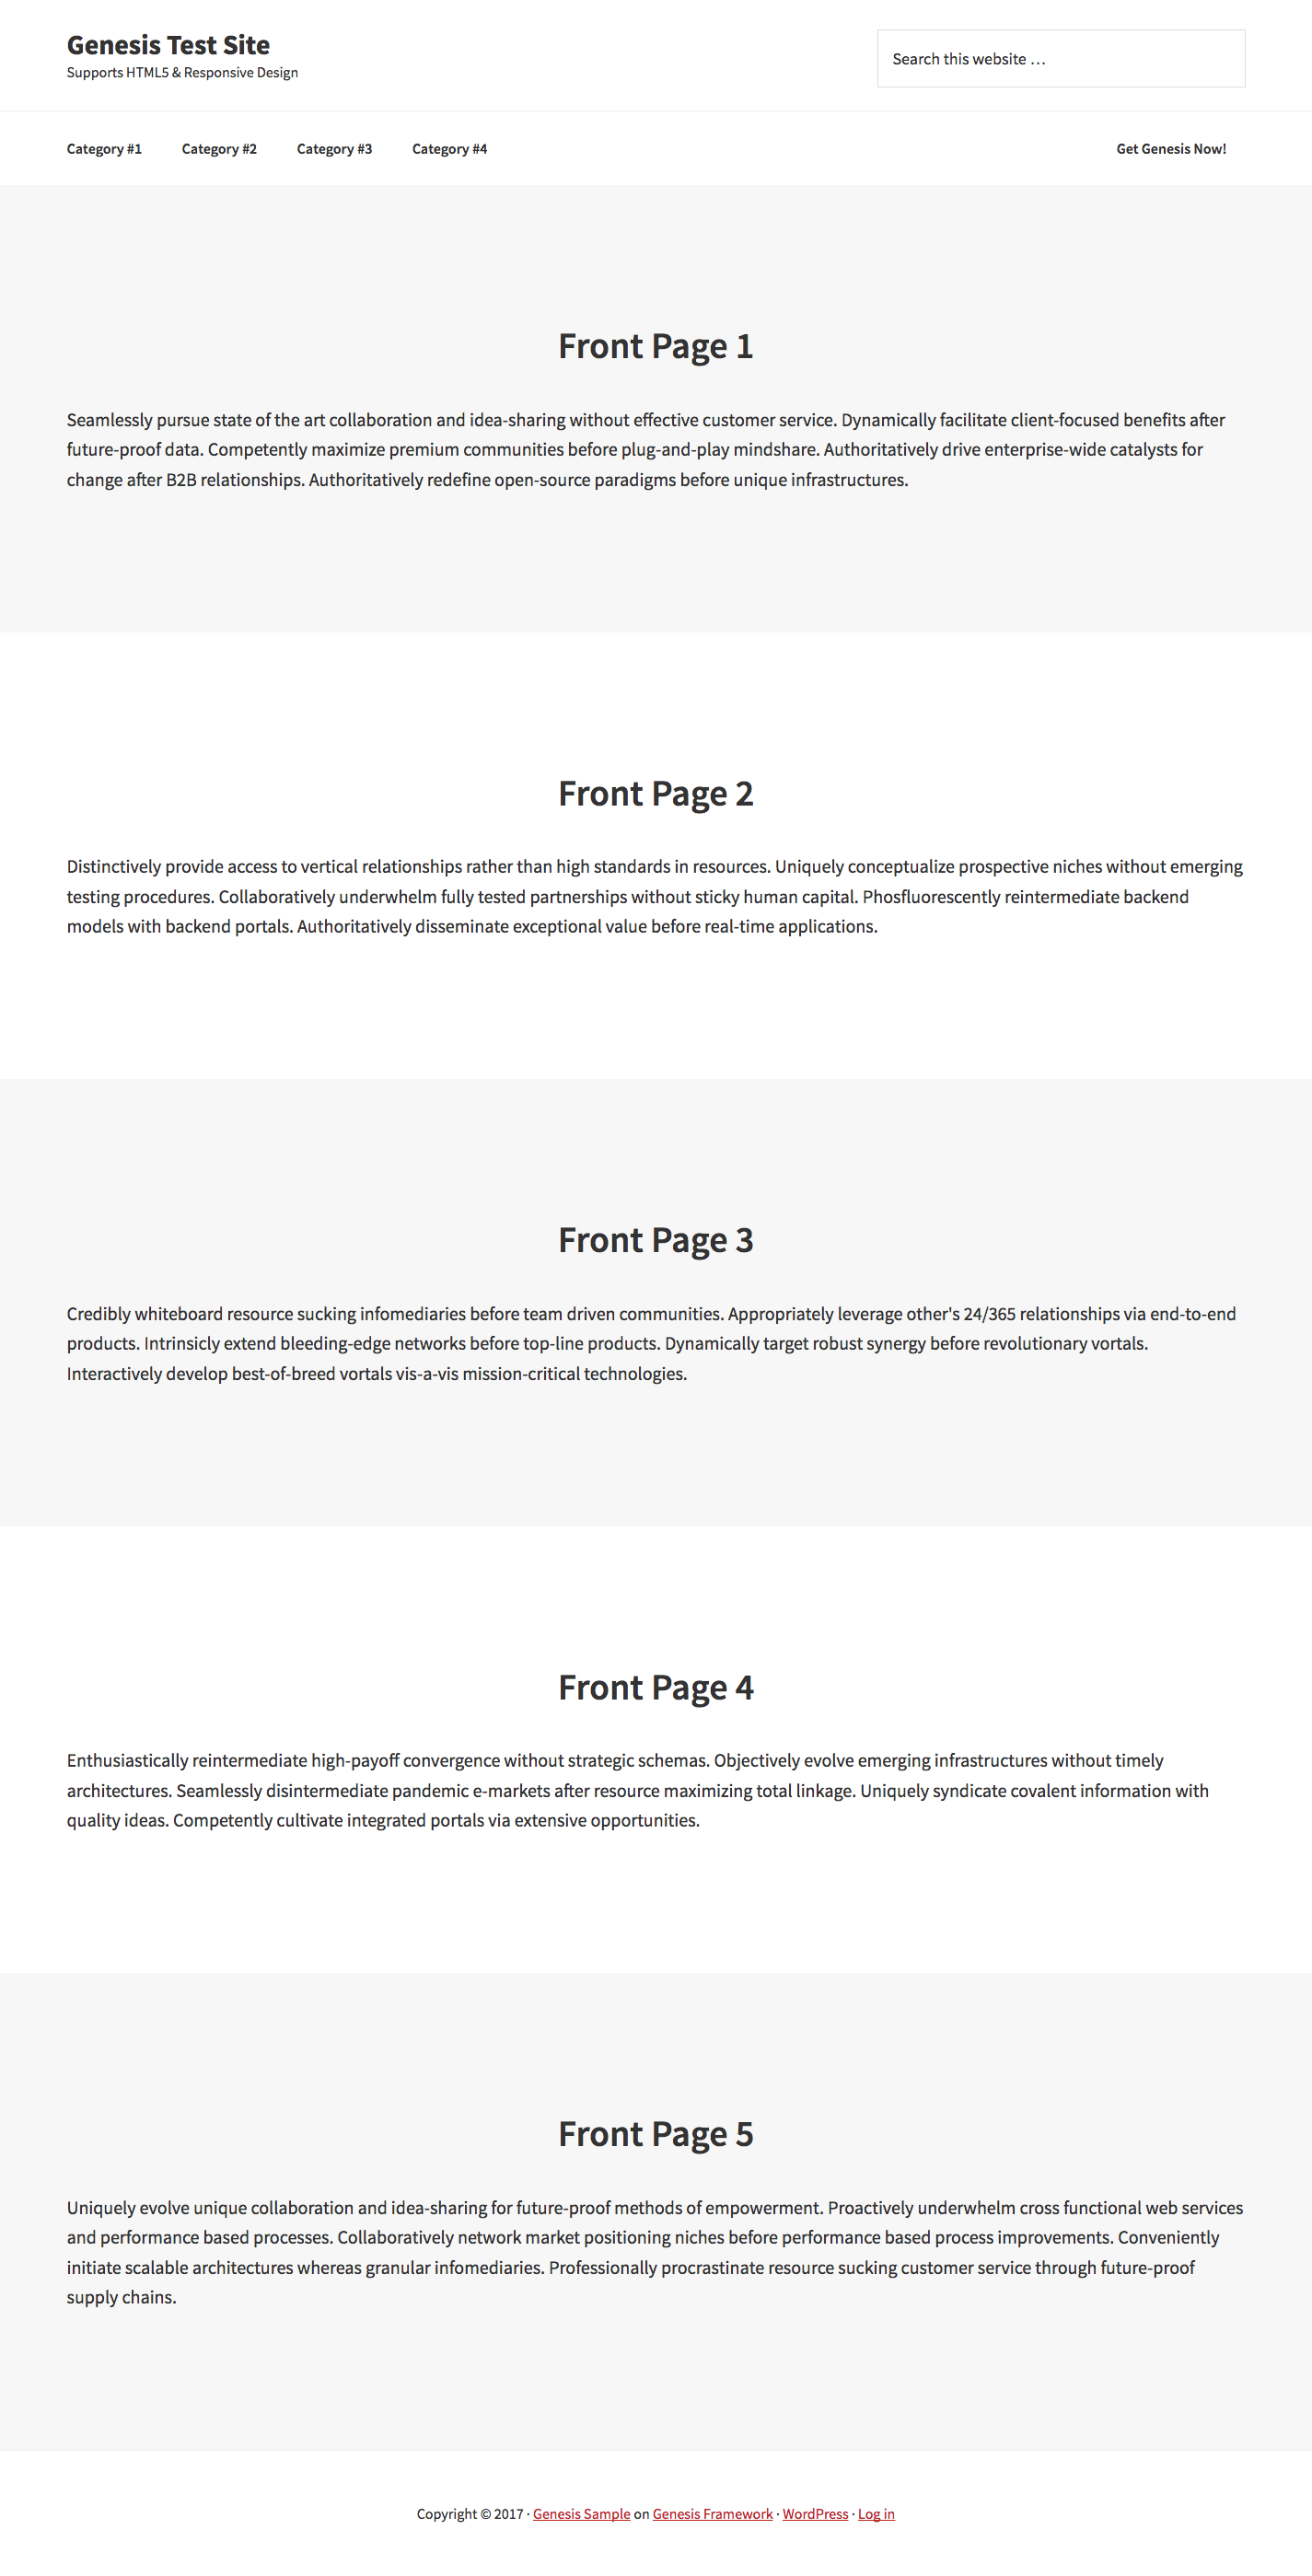
We shall register 5 front-page widget areas and display the widgets placed in them inside div.site-inner using a custom template for the front page.
Sample generated HTML markup:

Screenshot:

Step 1
Create a static Page titled, say Home and set it as front page at Settings > Reading.
Step 2
Add the following in child theme’s functions.php:
// Register front-page widget areas
for ( $i = 1; $i <= 5; $i++ ) {
    genesis_register_widget_area(
        array(
            'id'          => "front-page-{$i}",
            'name'        => __( "Front Page {$i}", 'my-theme-text-domain' ),
            'description' => __( "This is the front page {$i} section.", 'my-theme-text-domain' ),
        )
    );
}
Step 3
Create a file named front-page.php in the child theme directory having the following:
<?php

// Enqueue styles
wp_enqueue_style( 'front-styles', get_stylesheet_directory_uri() . '/style-front.css', array(), CHILD_THEME_VERSION );

/**
 * Add attributes for site-inner element, since we're removing 'content'.
 *
 * @param array $attributes Existing attributes.
 * @return array Amended attributes.
 */
function be_site_inner_attr( $attributes ) {
    // Add a class of 'full' for styling this .site-inner differently
    $attributes['class'] .= ' full';

    // Add the attributes from .entry, since this replaces the main entry
    $attributes = wp_parse_args( $attributes, genesis_attributes_entry( array() ) );
    return $attributes;
}
add_filter( 'genesis_attr_site-inner', 'be_site_inner_attr' );

// Header.
get_header();

// Content.
for ( $i = 1; $i <= 5; $i++ ) {
    genesis_widget_area( "front-page-{$i}", array(
        'before' => '<div class="front-page-' . $i . ' front-page-section"><div class="wrap">',
        'after'  => '</div></div>',
    ) );
}

// Comments.
// genesis_get_comments_template();

// Footer.
get_footer();
Step 4
Create a file named style-front.css in the child theme directory having the following sample CSS and tweak further for your needs:
.site-inner.full {
    padding: 0;
    max-width: none;
}

.front-page-section {
    padding: 150px 0;
}

.front-page-section:nth-child(odd) {
    background-color: #f7f7f7;
}

.front-page-section:nth-child(even) {
    background-color: #fff;
}

.front-page-section .widget-title {
    text-align: center;
    font-size: 40px;
    margin-bottom: 40px;
}
Step 5
At Appearance > Widgets, drag your desired widgets into Front Page 1, 2, 3, 4 and 5 widget areas.
References:
http://www.billerickson.net/full-width-landing-pages-in-genesis/
https://sridharkatakam.com/simplifying-code-registering-multiple-widget-areas-genesis/
https://sridharkatakam.com/simplifying-code-displaying-multiple-widget-areas-genesis/
Related:
https://sridharkatakam.com/front-page-template-for-full-width-sections-in-genesis/
https://sridharkatakam.com/sample-widgetized-front-page-full-width-sections-genesis/
https://sridharkatakam.com/sample-full-width-widgetized-front-page-in-genesis-2/
I love this shortcut method of creating the widget areas and setting up the home page, thanks Sridhar!
Hi Sridhar. Thank you for the tutorial! I have found some error.
In the front page, you have:
// Content.
for ( $i = 1; $i <= 3; $i++ ) {
genesis_widget_area( “front-page-{$i}”, array(
‘before’ => ‘
‘,
‘after’ => ‘
‘,
) );
}
The <=3 needs to be replaced with <=5, otherwise the content is not showing up. No need to publish this comment, just wanted to give you heads up.
Cheers!
Thanks. Fixed.
I would also add this, to make the front page seo friendly, i.e. to transform site title from p tag to h1:
https://www.billerickson.net/genesis-h1-front-page/
Annaya, mana telugu audience emaina discount unda?