Version control and working on a WordPress website locally while being able to push the changes to live site with the click of a button is something that most of us (esp. those that have seen the benefits) appreciate the usefulness of. In this tutorial I share step-by-step details of the process I have pieced together to develop WordPress websites locally and then push the changes both in files and database to the remote server. No, you do not have to open a command line window or terminal in any step.
The overall workflow involves creating a Git repository at Bitbucket, cloning it onto a localhost site’s (created using DesktopServer) folder, pushing the local site’s files to Bitbucket via SourceTree, using dploy.io to automatically send these files from Bitbucket to the remote server (hosted by HostGator in this example), manually installing WordPress on the remote server and finally using WP Migrate DB Pro (commercial plugin) to push the database changes from local to remote.
Step 1 – Install SourceTree
Download and install SourceTree, a free Git client available for both Windows and Mac.
Step 2 – Install WordPress on your localhost
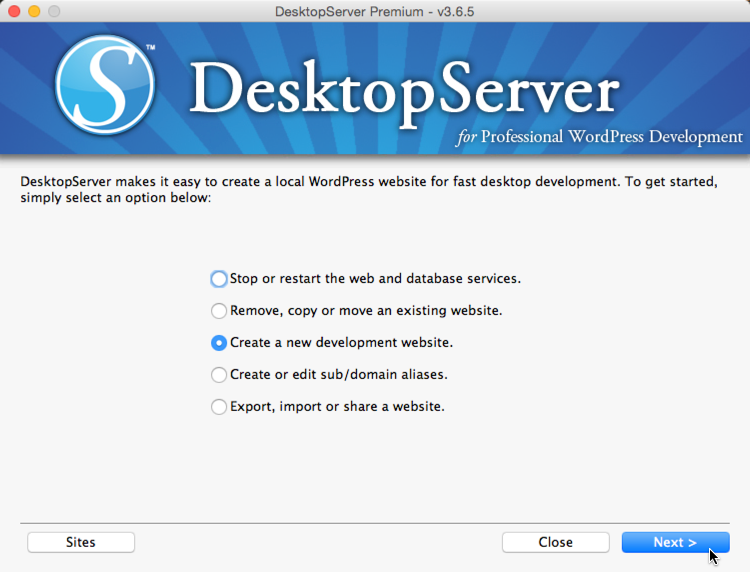
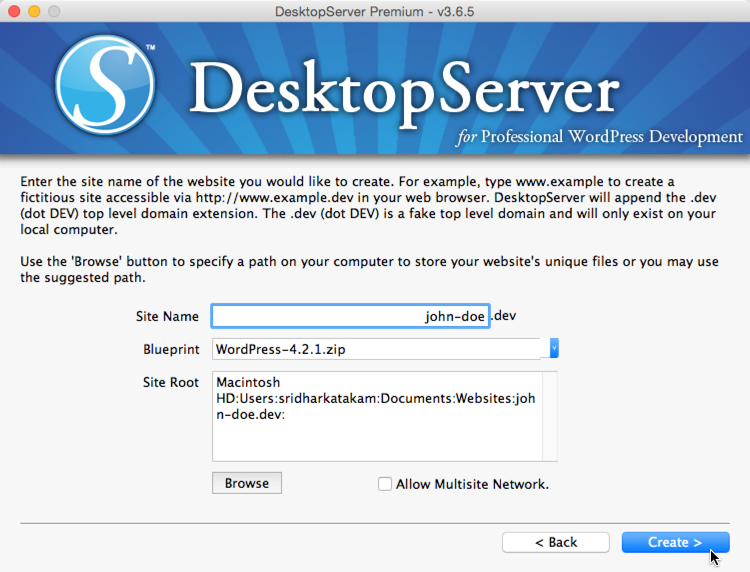
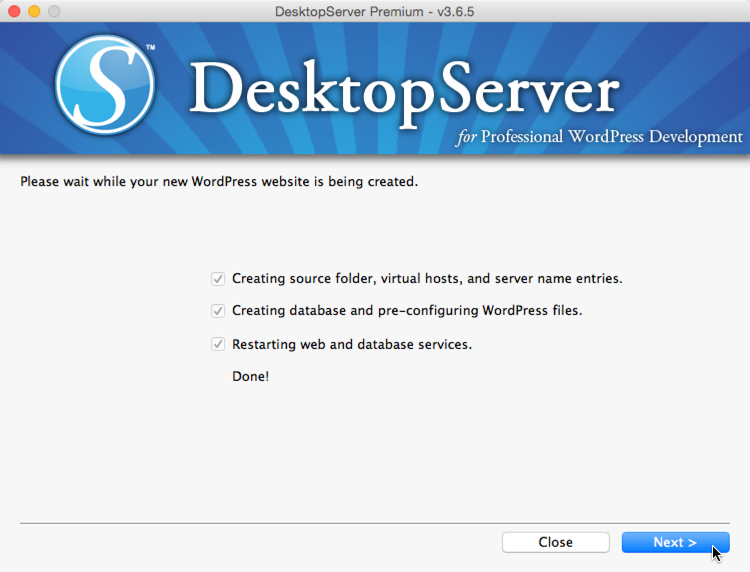
Create a new WordPress site using DesktopServer.
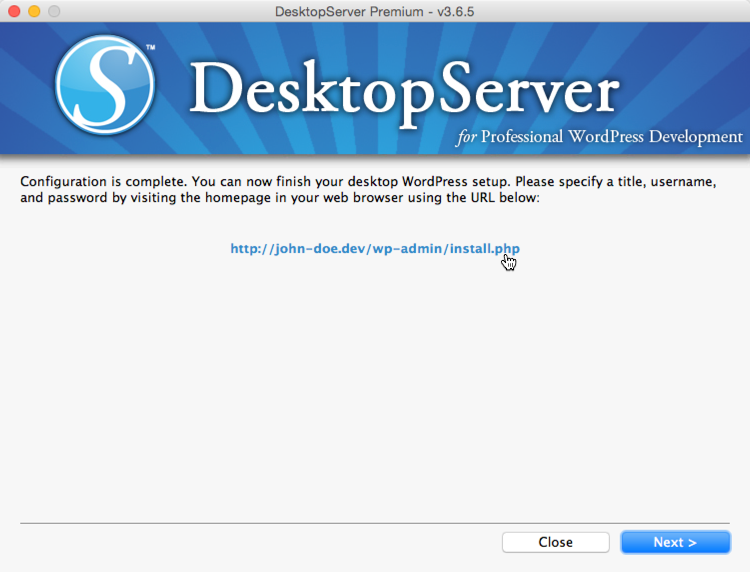
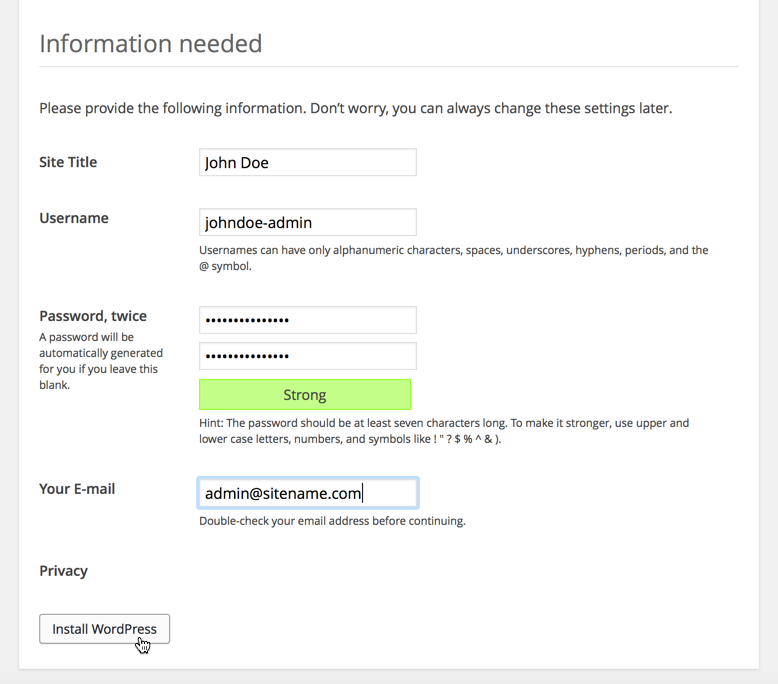
Complete the installation.
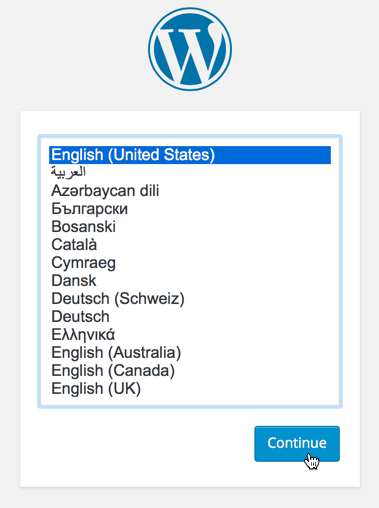
Note down the Username and Password you are going to enter in the next screen.
You may log in and do common tasks like setting ‘Post name’ as the Permalinks structure, removing unused themes like twentythirteen and twentyfourteen, activating your favorite theme and plugins.
Step 3 – WP Migrate DB Pro
Upload and activate WP Migrate DB Pro and optionally its Media Files Addon. This will be used to push database and optionally, the media addon for media files from local to remote.
Step 4 – Create a Git repository at Bitbucket
Sign up at Bitbucket which lets us host unlimited private Git repositories for free.
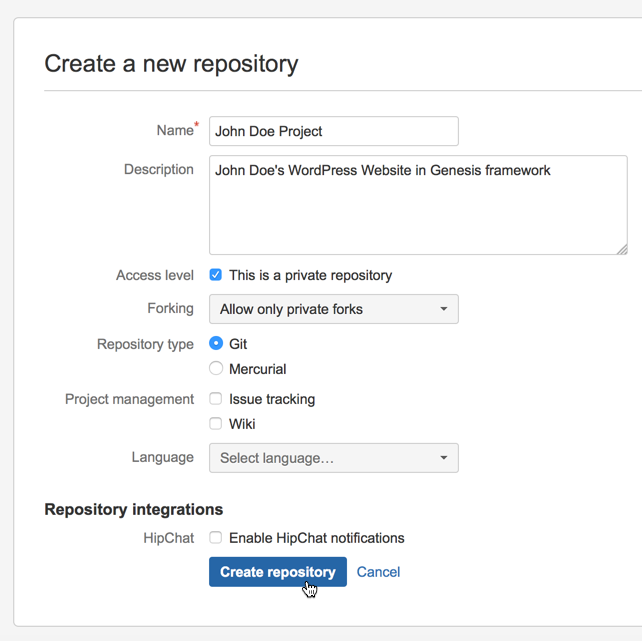
Create a private Git repository.
Step 5 – Empty the local site’s folder
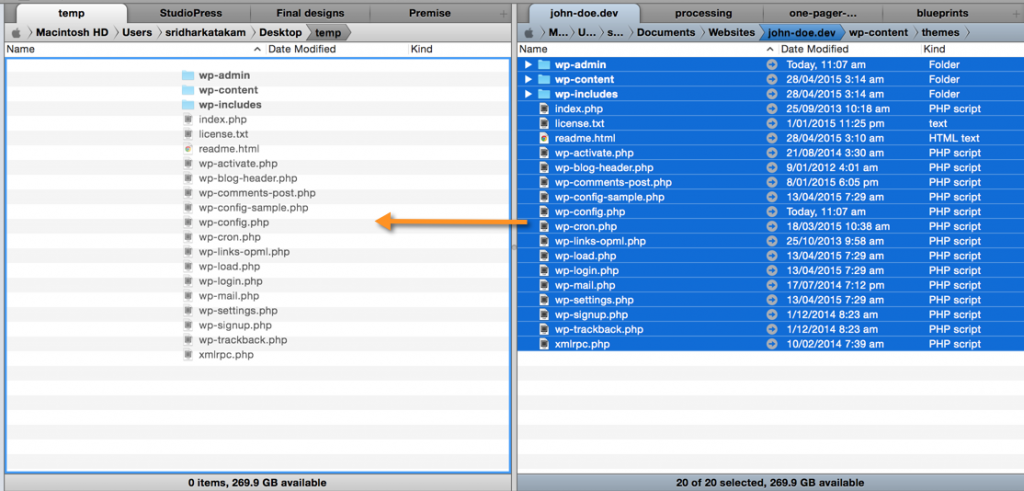
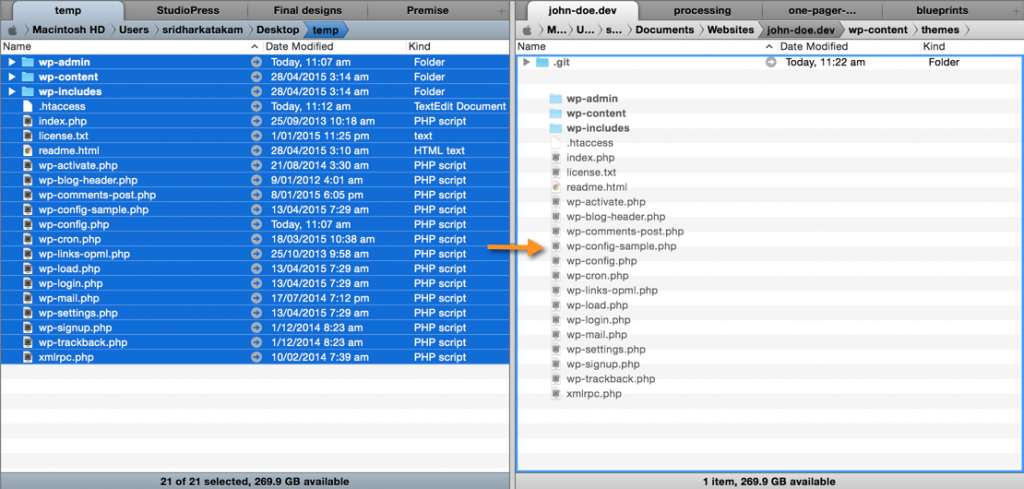
In the next step we are going to clone the above repo on the local computer and for this, the folder must be empty. Therefore, move all the content inside the website folder, ex.: /Users/sridharkatakam/Documents/Websites/john-doe.dev to a temporary folder say, “temp” on Desktop.
Make sure you also move .htaccess file which may be hidden.
Note: Screenshot below does not show .htaccess in the files list being moved. After taking the screenshot, I have realized that I left it out and moved that file later.
Step 6 – Clone the repository on your computer
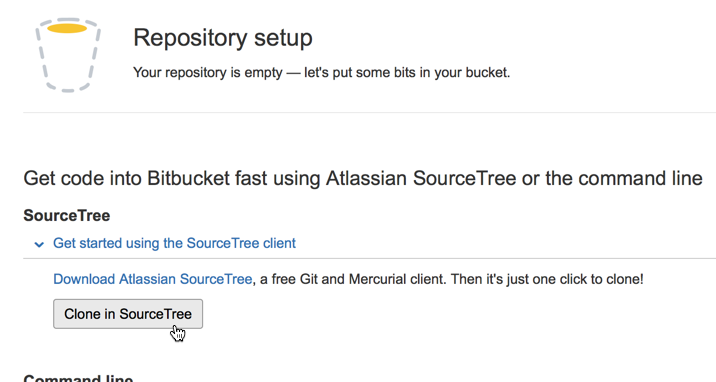
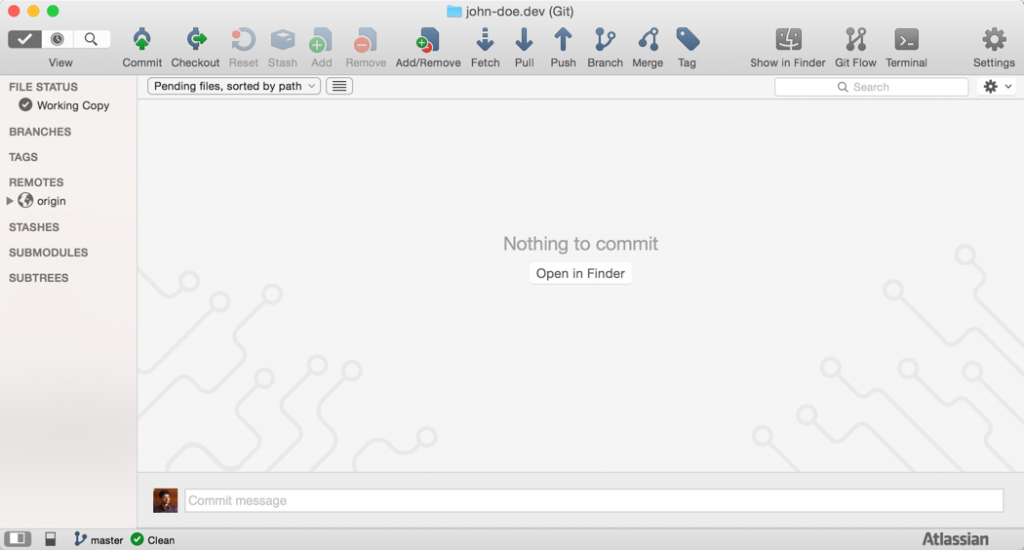
Click ‘Clone in SourceTree’ button.
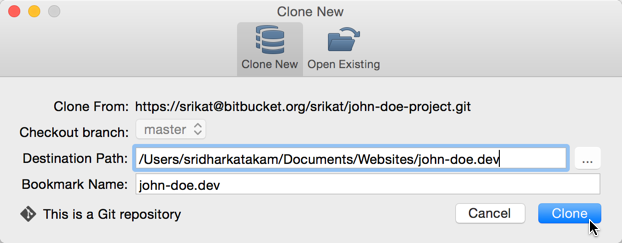
Set the Destination Path to the local site’s folder and click Clone button.
Step 7 – Move the local site’s content back into the folder
Move all the content back into the website folder on localhost.
Step 8 – Push the local site’s files to Bitbucket
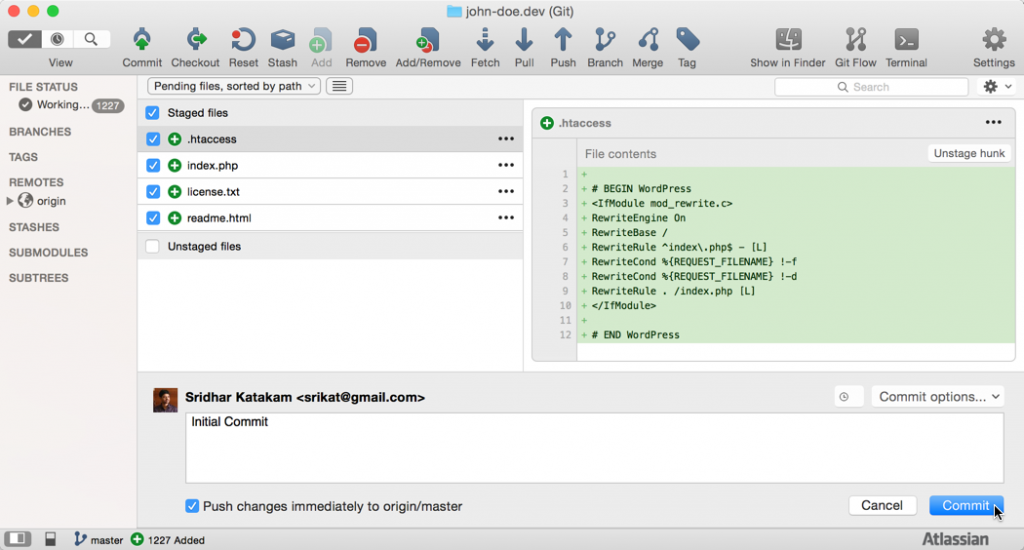
Switch to SourceTree, stage all the files by clicking the ‘Unstaged files’ checkbox, enter a Commit message, tick ‘Push changes immediately to origin/master’ and press Commit button.
This process may take 2 to 3 min to complete the first time depending on your internet connection’s upload speed since all the local site’s files will be uploaded to Bitbucket.
Step 9 – Set up deployment from Bitbucket to your site’s server using dploy.io
So far we have set up the system to push the file changes from local to Bitbucket. We are going to use dploy.io to automatically push the files received by Bitbucket to the live site’s server using FTP. Create an account at dploy.io.
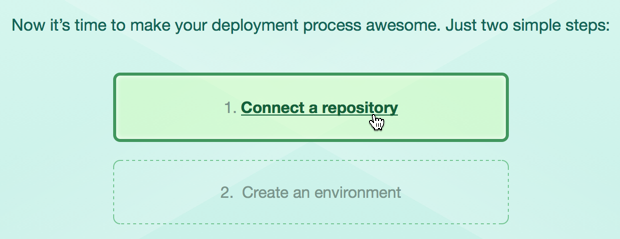
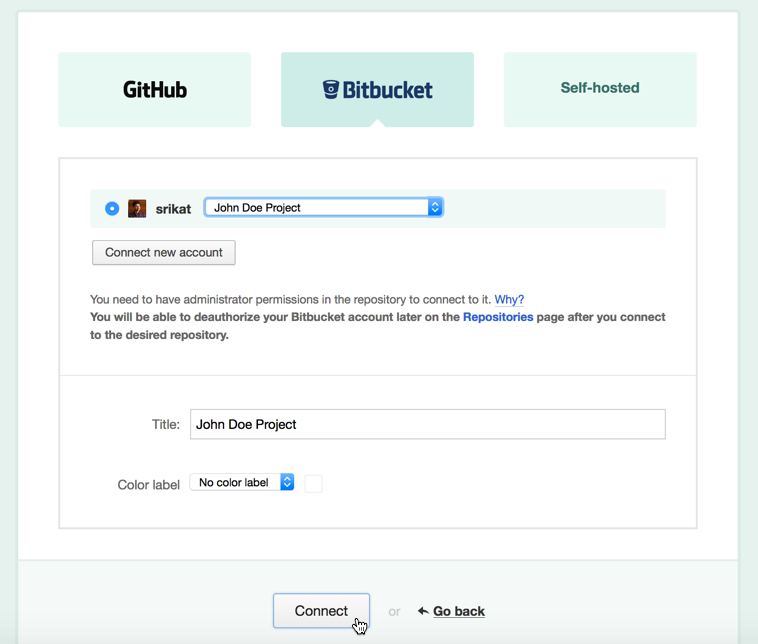
Click on ‘Connect a repository’, then under Bitbucket click on ‘Connect new account’. Once you have authorized Bitbucket to connect to dploy.io, select the repository and click ‘Connect’.
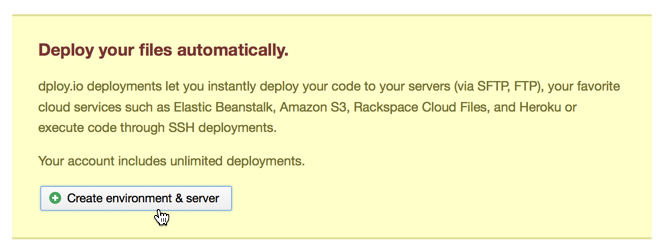
Click ‘Create an environment’.
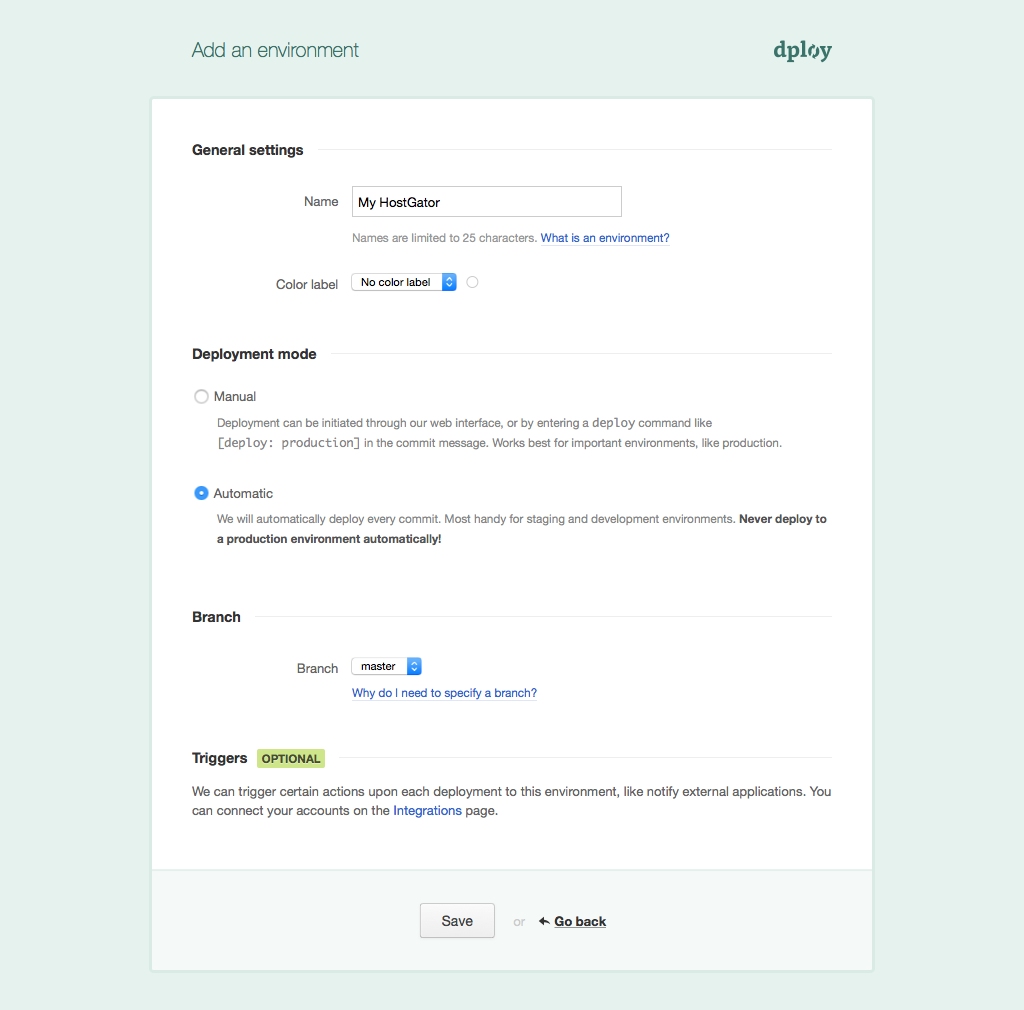
Enter a descriptive name for your FTP/sFTP server, select ‘Automatic’ deployment mode, leave the Branch at master and Save.
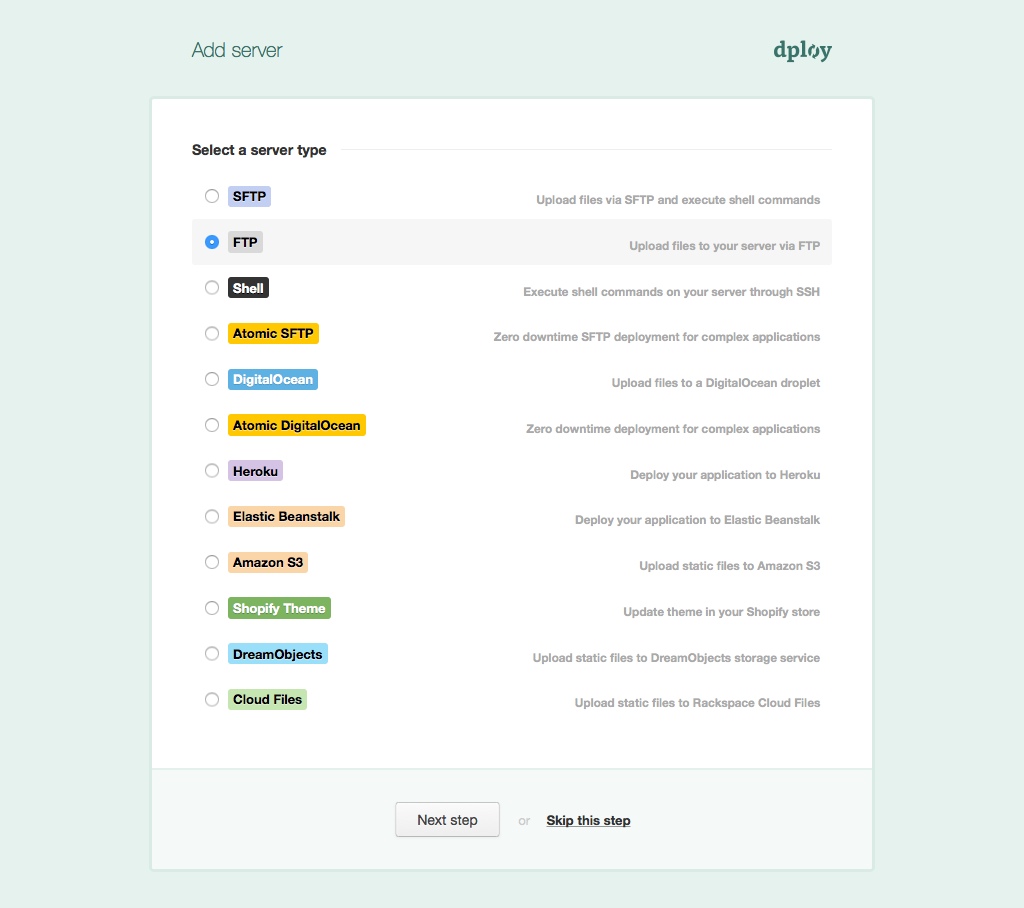
Select FTP or SFTP depending on what your hosting server offers and click ‘Next Step’.
Give a descriptive name for the environment and enter the corresponding login info. In this example, I am deploying the site to http://websitesetuppro.com/demos/john-doe. Hence created a ‘john-doe’ directory under ‘demos’ under public_html in my HostGator account using a FTP client and specified the Destination path as /public_html/demos/john-doe.
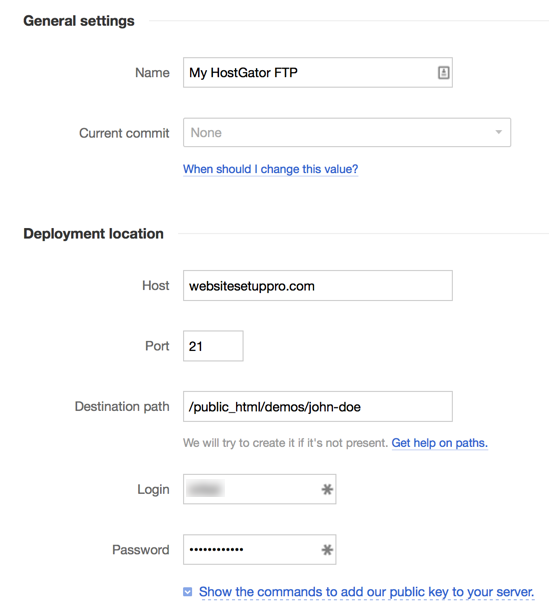
Click Save.
Go back to the Dashboard and click Deploy.
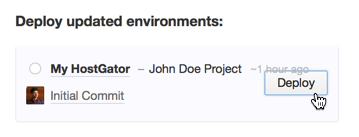
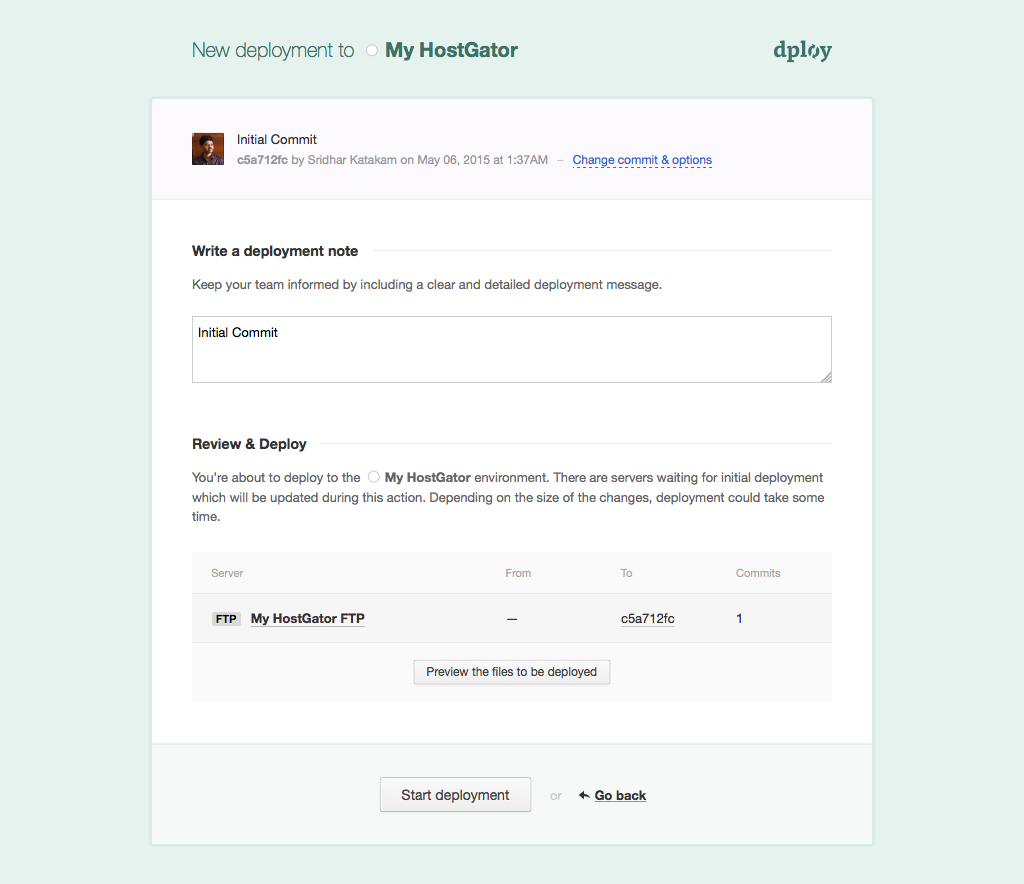
In the next screen, click ‘Start deployment’.
Step 10 – MySQL Database
Log into your host provided cPanel and create a new MySQL database.
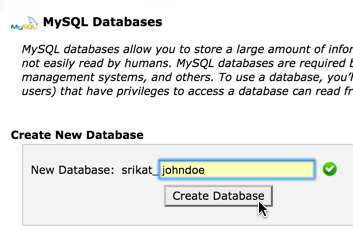
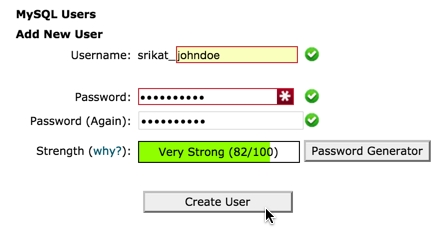
Create a new MySQL user. You might want to open up the wp-config.php file of your local site and use the same password.
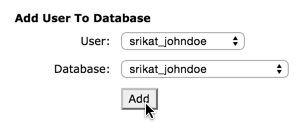
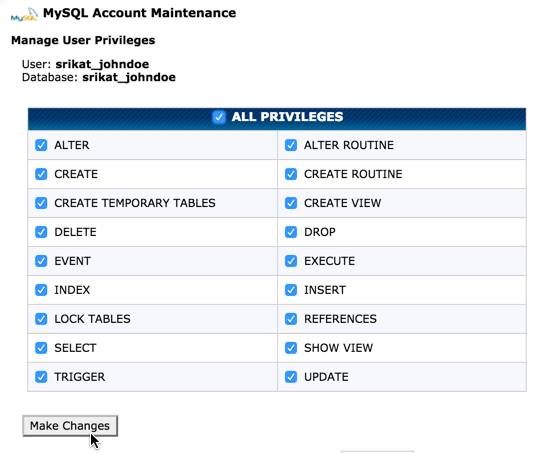
Add the user to database while granting all privileges.
Step 11 – Upload wp-config.php from local to remote and edit it
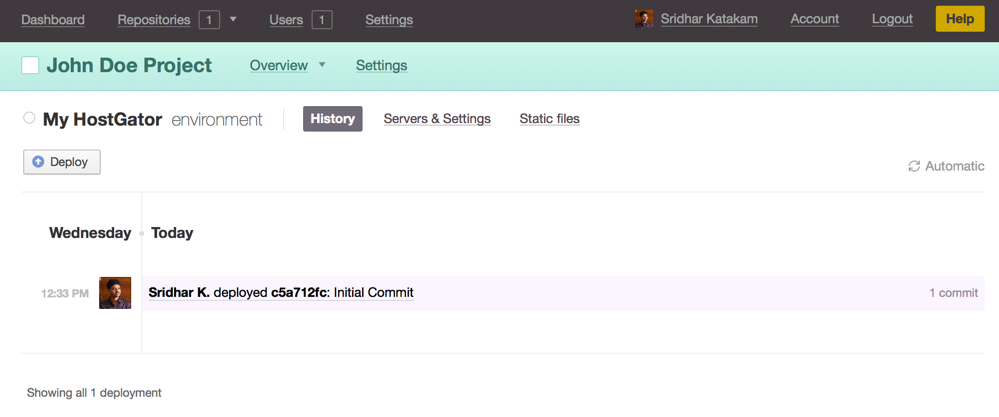
Ensure that your initial commit has been successfully sent from dploy.io to your remote site.
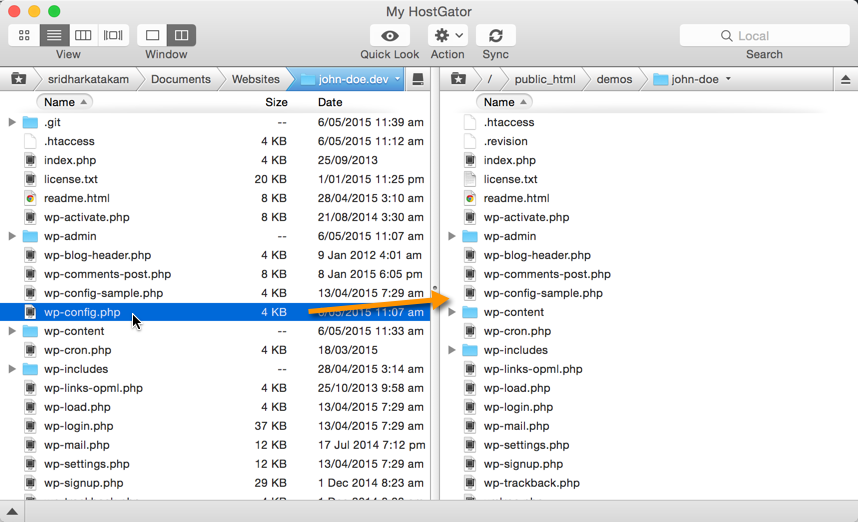
Using a FTP client or your host’s cPanel file manager, upload wp-config.php from your local site’s folder to the remote site’s root.
Edit the uploaded file on the remote server and update the database connection values per the previous step.
Step 12 – Access the live site and complete WP installation.
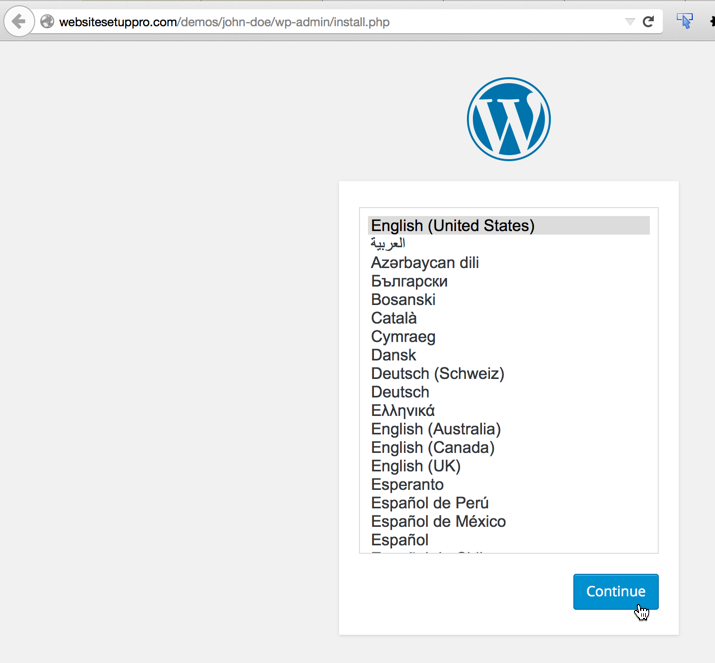
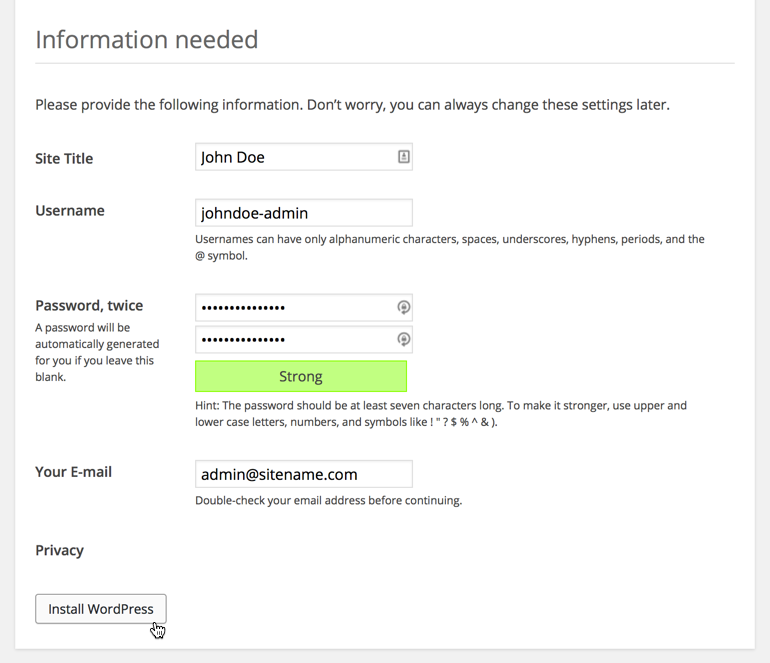
Visit the URL of your live site and complete the WordPress installation.
The Username and Password need not match those on the local install because after a few steps we are going to overwrite the remote’s database with that of local. But to keep things simple, I used the same.
Activate WP Migrate DB Pro.
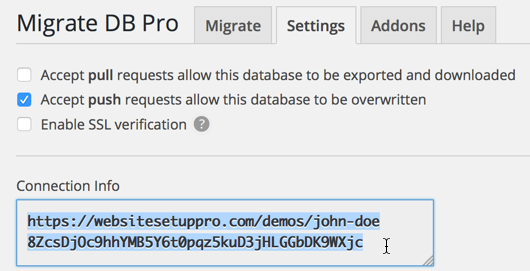
Tick ‘Accept push requests allow this database to be overwritten’. Copy the Connection Info.
Step 13 – Create a migration profile to push db from local to remote on demand
In the local site, go to WP Migrate DB Pro’s settings, tick ‘Accept pull requests allow this database to be exported and downloaded’.
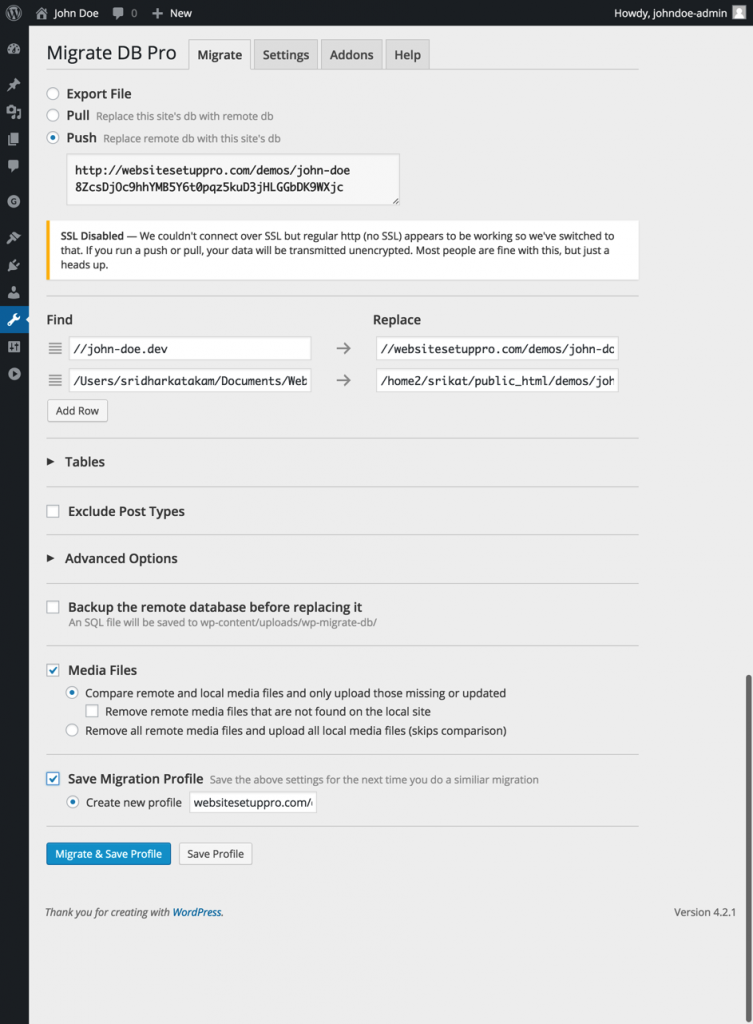
Switch to Migrate tab, select Push, paste the Connection Info, optionally tick Media Files, tick ‘Save Migration Profile’ and click ‘Migrate & Save Profile’ button.
This will push the entire local database to the live site and at this stage the live site should be a mirror of local one.
From this point onwards, after you make any changes in your local site whenever you want to push them live, stage all the changed files in SourceTree, commit and push them and use WP Migrate DB Pro to push the database changes.
While researching on how to set up all the above, I saved the following URLs in my notes:
http://stackoverflow.com/questions/2950107/git-push-into-production-ftp
https://github.com/banago/PHPloy
https://wordpress.org/plugins/wp-cfm/
https://github.com/level-level/wp-cfm-acf
http://ftploy.com/pricing
https://www.deployhq.com/packages



This is a great tutorial Sri. I wish it were around a few years ago when I was struggling with workflow.
If one uses a tool like PHPStorm as his or her IDE, you can skip using Deploy.io. PHPStorm (and other commercial IDE’s) Integrate beautifully with Bitbucket git/mercurial and can deploy to live automatically from within the ide. So when changes are made local they can push to live upon commit or separately.
Then pick up with your DB move …
Fantastic post Sridhar! I can’t wait to give this a go.
Hi Sridhar,
Great tutorial as usual :), thank you.
Would love to see similar one that demonstrate the PSD to Genesis process that you are using in your projects.
For example, starting with the Genesis sample theme as a starting point to create a custom home page design.
I feel that this stage is taking too much time for me and I am sure that you have a better tools and process in hand.
Please share if possible.
Thanks much,
Nir
Can you point me to a free PSD that I can use to create a video tutorial series on how to set up in WordPress using Genesis?
Hi Sridhar,
Thanks for your willingness to create this tutorial.
I found the following website with many PSD samples:
http://designscrazed.org/free-photoshop-psd-website-templates/
I hope that you can find useful designs there…
Thanks much
Hi Sridhar,
Excellent job. So timely. It seems that every time I’m struggling with something, you’ve just written a tutorial about it. Last week I started working through a similar tut published on 9seeds.com but with small variations. Your environment apps lined up perfectly with mine and after going through this post, I’m now in business. The deploy.io part is the secret sauce.
All the best to you sir.
Matt
Thanks for this tutorial Sridhar! I own a copy of Tower but have never used it. Would that serve the same purpose as Source Tree?
Yes. You just hit the Clone button, paste the repository URL and clone to your local website folder’s root.
Very thankful for this tutorial! Can’t wait to put this to use.
SriKat – If you’re only going from local to dev, I don’t see the point of this! There’s a much easier way.
Using DesktopServer, just publish the site using their WP plugin. All you need to put in is the URL, admin username and password, and the local site gets uploaded automatically. Sure, this may upload the entire site & DB instead of just the changes as your workflow, but it’s so much less hassle, just upload at each milestone and call it a day.
Thanks for everything you do!
I do use DS’s direct deploy and/or the plugin method from time to time.
But as you say,
that indeed is a hassle in some situations. Most importantly, it will not have version control with no mechanism to roll back to previous versions involving code & db changes. I prefer to use this workflow instead of DS in such cases.
This may seem like a lot of steps. But in reality it can be done pretty quick and most of it is one-time setup.
Hi SriKat,
Thanks so much for this, very informative!
If you had a client who was updating content on the site regularly (eg posting comments, blogs, modifying other custom post types), to changes to their live site, would you..
1. Pull the live site’s database (using WP Migrate DB Pro) to your dev site
2. Make the appropriate changes on dev site
3. Once finished, commit file changes (through SourceTree) and push the dev site’s database (using Migrate DB Pro)
4. Hope that the client has not added any additional posts/comments to the live site in the time it’s taken to make changes?
I realise it’s possible to enter the live site in some form of ‘maintenance’ mode where site visitors are redirected to a temporary maintenance page to avoid them addint comments etc but it won’t stop WP Editors/Contributors/Admins posting blogs etc.. Any changes the client makes will be overwritten if they have done so within the period of you making changes..
Maybe just before you push/commit the changes, you could pull the database one last time however only pull certain tables? This would be quite a manual process however as you’d have to ONLY pull certain tables that the client may have written to so that the work you’ve completed on dev in the meantime isn’t overwritten..
Seems a bit arduous! Any ideas?
*to make changes to their live site, would you…
This is my question too. What do you do with a live thriving site. I’d add to this that I have people signing up to the site as users and making purchases. It’s the same scenario. How would you handle that?
this is awesome and im really enjoying using it. The only issue I have is i travel and bring my laptop from time to time instead of working from my desktop. Is there anyway to have your local pc and laptop both stay in sync and both be able to push to the live site?
Thanks in advance srikat
Terrible idea to pitchfork an entire WP install into a single repo as opposed to a single plugin or theme. Think about it folks.
Thanks for the reply Dan. Would it make sense to add WP files and folders to gitignore?
Question … if my remote server (let’s say at Bluehost) has a live site, and I have created a local copy of it in Desktop Server .. the situation is slightly different than your example, because my remote server already has a database/WordPress install.
What steps would be different?
1) Create local repo in SourceTree of Desktop Server site
2) Create repo in Bitbucket and commit files from SourceTree to Bitbucket
3) Add a server connection in Dploy … using sftp?
4) Then … ?? Unclear on whether DBMigrate Pro is needed and how that setup would work if the database is already on the remote server.
Thanks
If you have a site already on the server, it’s even easier and fewer steps to do.
Take a full backup of the site using a plugin like BackupBuddy and import it into DS. Rest of the process will be the same more or less. You will skip the obvious steps like creating database on your server.
WP Migrate DB Pro is still needed on both local and remote sites so you can push the db changes from local to live.
If you would like me to create a screencast of the process, send me your WP and FTP logins via https://sridharkatakam.com/contact/.
Hi Sridhar,
Thank you for your reply to my question. To expand upon the workflow, I have just implemented git, using Desktop Server, SourceTree and Bitbucket.
So I have a few questions for the syncing process of the workflow …
1) If I am using git for version control on the local, Desktop Server, version of a website, then commiting to Bitbucket, should I then also commit/push the changes from Bitbucket to my production site? Is this possible and recommended? Or should I add a step of having a staging site on the live/production server to test on that server before pushing to production site? I manage many sites with a number of hosting providers (mainly Bluehost, GoDaddy, Site Ground). Most of these hosting plans do not have an automatic staging site, but I can add a directory to use as a staging server … is that necessary?
2) Should this be done using git/Bitbucket or just replacing the changed files using WP DB Migrate Pro? If on my local site, I change some widget content, or change the menu, that wouldn’t show up in git anyway, right, since that is a database change? Can that also be version controlled?
Thank you for your help!
Using this workflow how would you roll back to a previous version?
Great tutorial, i use it on my last real project, and i think i will use it everytime, so everything is synced locally, on bitbucket and live.
also my last client was on wpengine, where the direct deploy from ds doesn’t work, so it was really helpfull!
i have simplify the process putting the repository in wpcontent instead of the complete wordpress, and install previously a wordpress in the remote hosting
so no need to make changes in wp-config etc…
just pushing and syncing db
Great Tutorial but I use Media temple wordpress hosting service which comes with built wordpress site and MT request to add .gitignore file which doesnt allow to upload the full site , any advice how can I use git in this situation ?
thanks
Hi Sri,
I was trying to follow your article about “Local to Live WordPress Websites Workflow using DesktopServer, Bitbucket, SourceTree, Dploy.io and WP Migrate DB Pro” I’ve tried to setup wordpress multi site but it is not working. and in your video I’ve seen that you didn’t change your DB host of wp-config file on hostgator it was same as localhost. but in my case it is not working! when I give “define( ‘WP_ALLOW_MULTISITE’, false);” and the DB host as hosting provider DB host then it working fine with one site. otherwise it gives a database error message. would you please provide a solution?
Hi, this was very helpful, but, as Tara asked (and this is the most important for me now, otherwise is kinda useless)
If on my local site, I change some widget content, or change the menu, that wouldn’t show up in git anyway, right, since that is a database change? Can that also be version controlled?
Thanks.
Good idea. But it is not something I do.
If I figure it out, shall update.
This is a great tutorial and I am really focusing on learning/implementing Version Control, my only immediate concern is that your tutorial has the full WP install under version control, not sure if that is a good thing (just more to deploy since WP does the actual code updates), would I just need to modify your steps to only include the wp-content folder?
Keep up the great work!
Hi Sridhar, could Mamp with a manual local WP install be used instead of DesktopServer? Would this affect the workflow in any way? Thanks
Hi Sri,
Is dploy.io still available? I can see that it redirect me to https://deploybot.com/?
Thanks
It’s the same service. They changed the name.
https://buddy.works/ is similar.
Thanks Sri,
Are you currently using this workflow for your projects? are you aware of any cons with this method for us to be aware of?
No because I am not doing full websites client work. It is mostly smaller customizations client work at the moment for me besides writing tutorials here.
For my part-time agency work I do use Git but only with the active theme managed vs the entire WordPress in the repo.
So it’s basically DesktopServer (localhost) > BitBucket > buddy.works > Host w/ a single commit + push.