Updated on March 07, 2019
For Mac users that do not have the need to create local sites with different PHP versions, Laravel Valet is perhaps the lightest, fastest and best localhost development environment for setting up WordPress (or any other static/dynamic) sites as of today.
A few reasons why I love Valet:
- Lightweight, super fast, feels native as if part of the OS
- Always-on sites with nothing to start/stop
- The ability to group sites into folders
- Automatic built-in SSL for every site
- wp-cli-valet-command – “This command will spin up a new WordPress installation — complete with database and https ready-to-use in your browser faster than you can put your pants on.”
- Custom automations. Ex.: install WordPress with my favorite theme, Genesis installed, default plugins removed, All-in-One WP Migration installed & activated and more, thanks to WP-CLI and shell scripting.
and now, we can add one more to the list: Automatically view the changes done to the files in the browser.
This tutorial provides the steps to set up BrowserSync to work with Valet sites using Gulp.
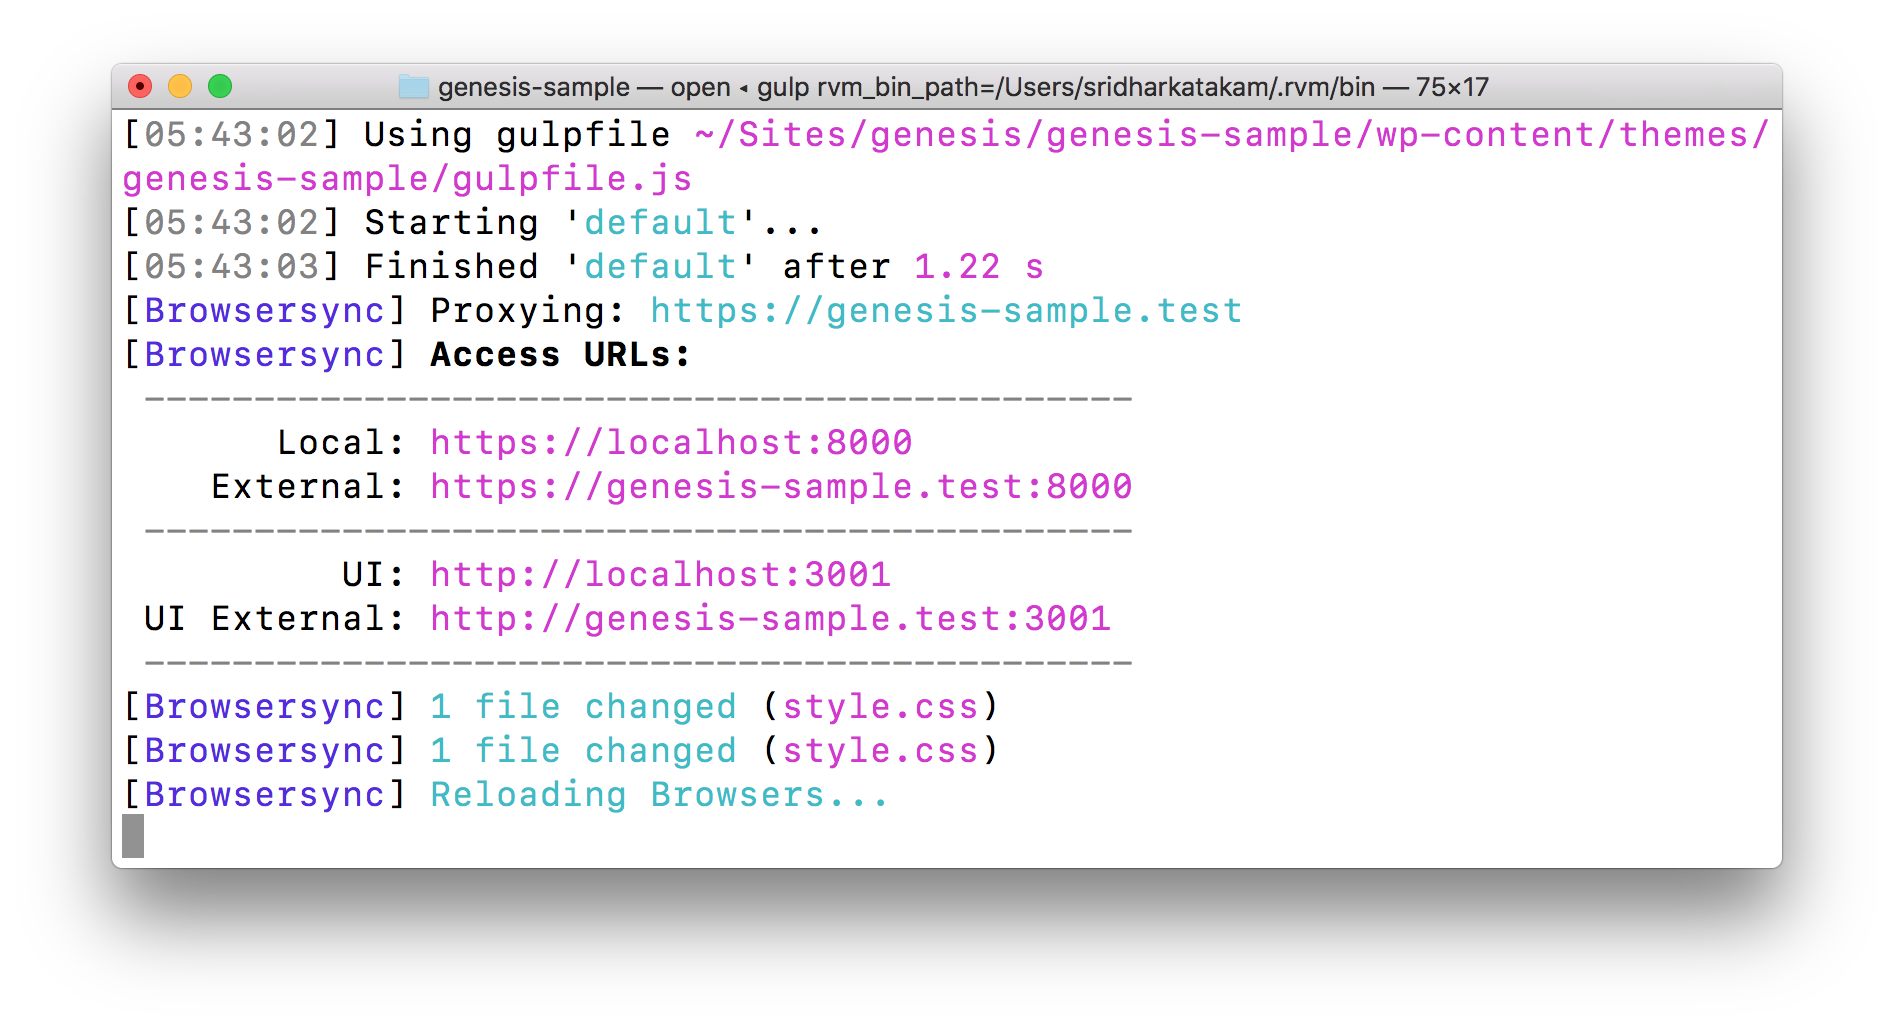
After you have followed this, running a single gulp command in the terminal will launch your site’s URL in a new tab in your default browser and automatically reload whenever you do any PHP and JS changes.
CSS changes will be injected without a browser refresh.
Bonus: Open the external URL generated in other devices like tablets and mobiles on the same network as your Mac and everything will work in unison – reloading, injection and scrolling.
Step 0: Prerequisites
- Install Node.
- Install Gulp CLI globally.
npm install gulp-cli -g
Step 1: Project configuration
Create a file named package.json in the project folder (in my case, this is the active theme directory) having:
{
    "name": "wp-browsersync",
    "version": "1.0.0",
    "description": "Description of your project",
    "main": "gulpfile.js",
    "scripts": {
        "test": "echo \"Error: no test specified\" && exit 1"
    },
    "author": "Your Name",
    "license": "GPL-2.0"
}
Step 2: Install Gulp and BrowserSync locally
Navigate to the project folder in the terminal and run
npm install browser-sync gulp --save-dev
This should create a package-lock.json file, node_modules folder and add devDependencies section in package.json.
Step 3: Gulp Configuration File
Create a file named gulpfile.js having the following:
// Require our dependencies.
var browserSync = require( 'browser-sync' ).create();
var gulp = require( 'gulp' );

var siteName = 'genesis-sample'; // set your siteName here
var userName = 'sridharkatakam'; // set your macOS userName here

// Set assets paths.
var paths = {
    php: [ '*.php', '**/*.php' ],
    scripts: [ 'js/*.js' ],
    styles: [ '*.css', 'css/*.css' ]
};

/**
 * Reload browser after PHP & JS file changes and inject CSS changes.
 *
 * https://browsersync.io/docs/gulp
 */
gulp.task( 'default', function() {
    browserSync.init({
        proxy: 'https://' + siteName + '.test',
        host: siteName + '.test',
        open: 'external',
        port: 8000,
        https: {
            key:
                '/Users/' +
                userName +
                '/.config/valet/Certificates/' +
                siteName +
                '.test.key',
            cert:
                '/Users/' +
                userName +
                '/.config/valet/Certificates/' +
                siteName +
                '.test.crt'
        }
    });

    gulp.watch( paths.php ).on( 'change', browserSync.reload );
    gulp.watch( paths.scripts ).on( 'change', browserSync.reload );

    gulp.watch( paths.styles, function() {
        gulp.src( paths.styles ).pipe( browserSync.stream() );
    });
});
Replace genesis-sample with the name of your local site.
Replace sridharkatakam with your macOS username.
Step 4: Magic!
Run
gulp
A URL like https://genesis-sample.test:8000 should automatically have been launched in a new tab in your browser if everything went well.
To access the site in other devices on the same network, you need to replace the sitename with the IP of your computer (can be obtained from the built-in Network Utility app) in the generated External URL.
Ex.: https://192.168.86.47:8000 instead of https://genesis-sample.test:8000.
Ignore the browser security warning and proceed.
That’s it!
If your project is under Git version control, make sure node_modules is added to .gitignore.
References:
https://www.sitepoint.com/introduction-gulp-js/
https://browsersync.io/docs/gulp
https://github.com/ahmadawais/WPGulp/blob/master/gulpfile.js
https://twitter.com/seothemeswp/status/987469104071163904
Thanks to:

woah! sweet.
sir how i install wordpress using valet?
Follow https://sridhar.blog/bash-script-wp-cli-valet-command/.
having problem installing valet. installed it still laraval command not found. sir, please write a detailed tutorial to install valet and https://github.com/aaemnnosttv/wp-cli-valet-command/
wp-cli command tool and install wordpress.
I had better luck with valet-plus.
I have managed to install wordpress but it is not working with https:// how to use https:// ?
I am not sure there is anything special I need to write since these are already clearly documented?
Have you posted your question with error message and/or a screenshot in the project’s Github Issues page? If so, can you share the link?
Rather than have Gulp open locahost:8000 and then manually change the URL in the browser, you could set Browser Sync to open https://genesis-sample.test:8000. Try changing your Browser Sync init to:
    browserSync.init({

        proxy: 'https://genesis-sample.test',

        host: 'https://genesis-sample.test',

        open: 'external,

        port: 8000,

        https: {

            key:

                '/Users/sridharkatakam/.valet/Certificates/genesis-sample.test.key',

            cert:

                '/Users/sridharkatakam/.valet/Certificates/genesis-sample.test.crt'

        }

    });
It would be good to save your site URL as a variable, and pass it into the default function, rather than editing 4 instances of genesis-sample.test.
Nice.
I have updated the post accordingly.
THANK YOU!!!
Pointing to the security certificates was the crucial bit I was missing before.
Hi Sridhar,
I would like to set this up on my windows machine, i tried the same steps but i am unable to launch. Could you please help me in geeting this for windows 10??
Thanks,
Murthy
Actually i am getting error message with below piece of code:
https: {
key:
‘/Users/’ +
userName +
‘/.valet/Certificates/’ +
siteName +
‘.test.key’,
cert:
‘/Users/’ +
userName +
‘/.valet/Certificates/’ +
siteName +
‘.test.crt’
}
,I dont have any folder or files like valet and certificates .
What is the URL of (any of) your local site?
I am trying with google.com. I dont have any specific application for now i want to try how this browser sync is going to work.
This tutorial is meant for using BrowserSync to auto reload/inject changes done to files of sites that are you locally hosted on your computer.
For using BS with other sites such as google.com, try this guide instead: https://medium.com/@markbrouch/edit-live-sites-on-the-fly-with-browsersync-426690dac3f1