In the comments section of Full width Soliloquy slider in Showcase Pro tutorial, a user asked:
How can I add Soliloquy to individual pages?
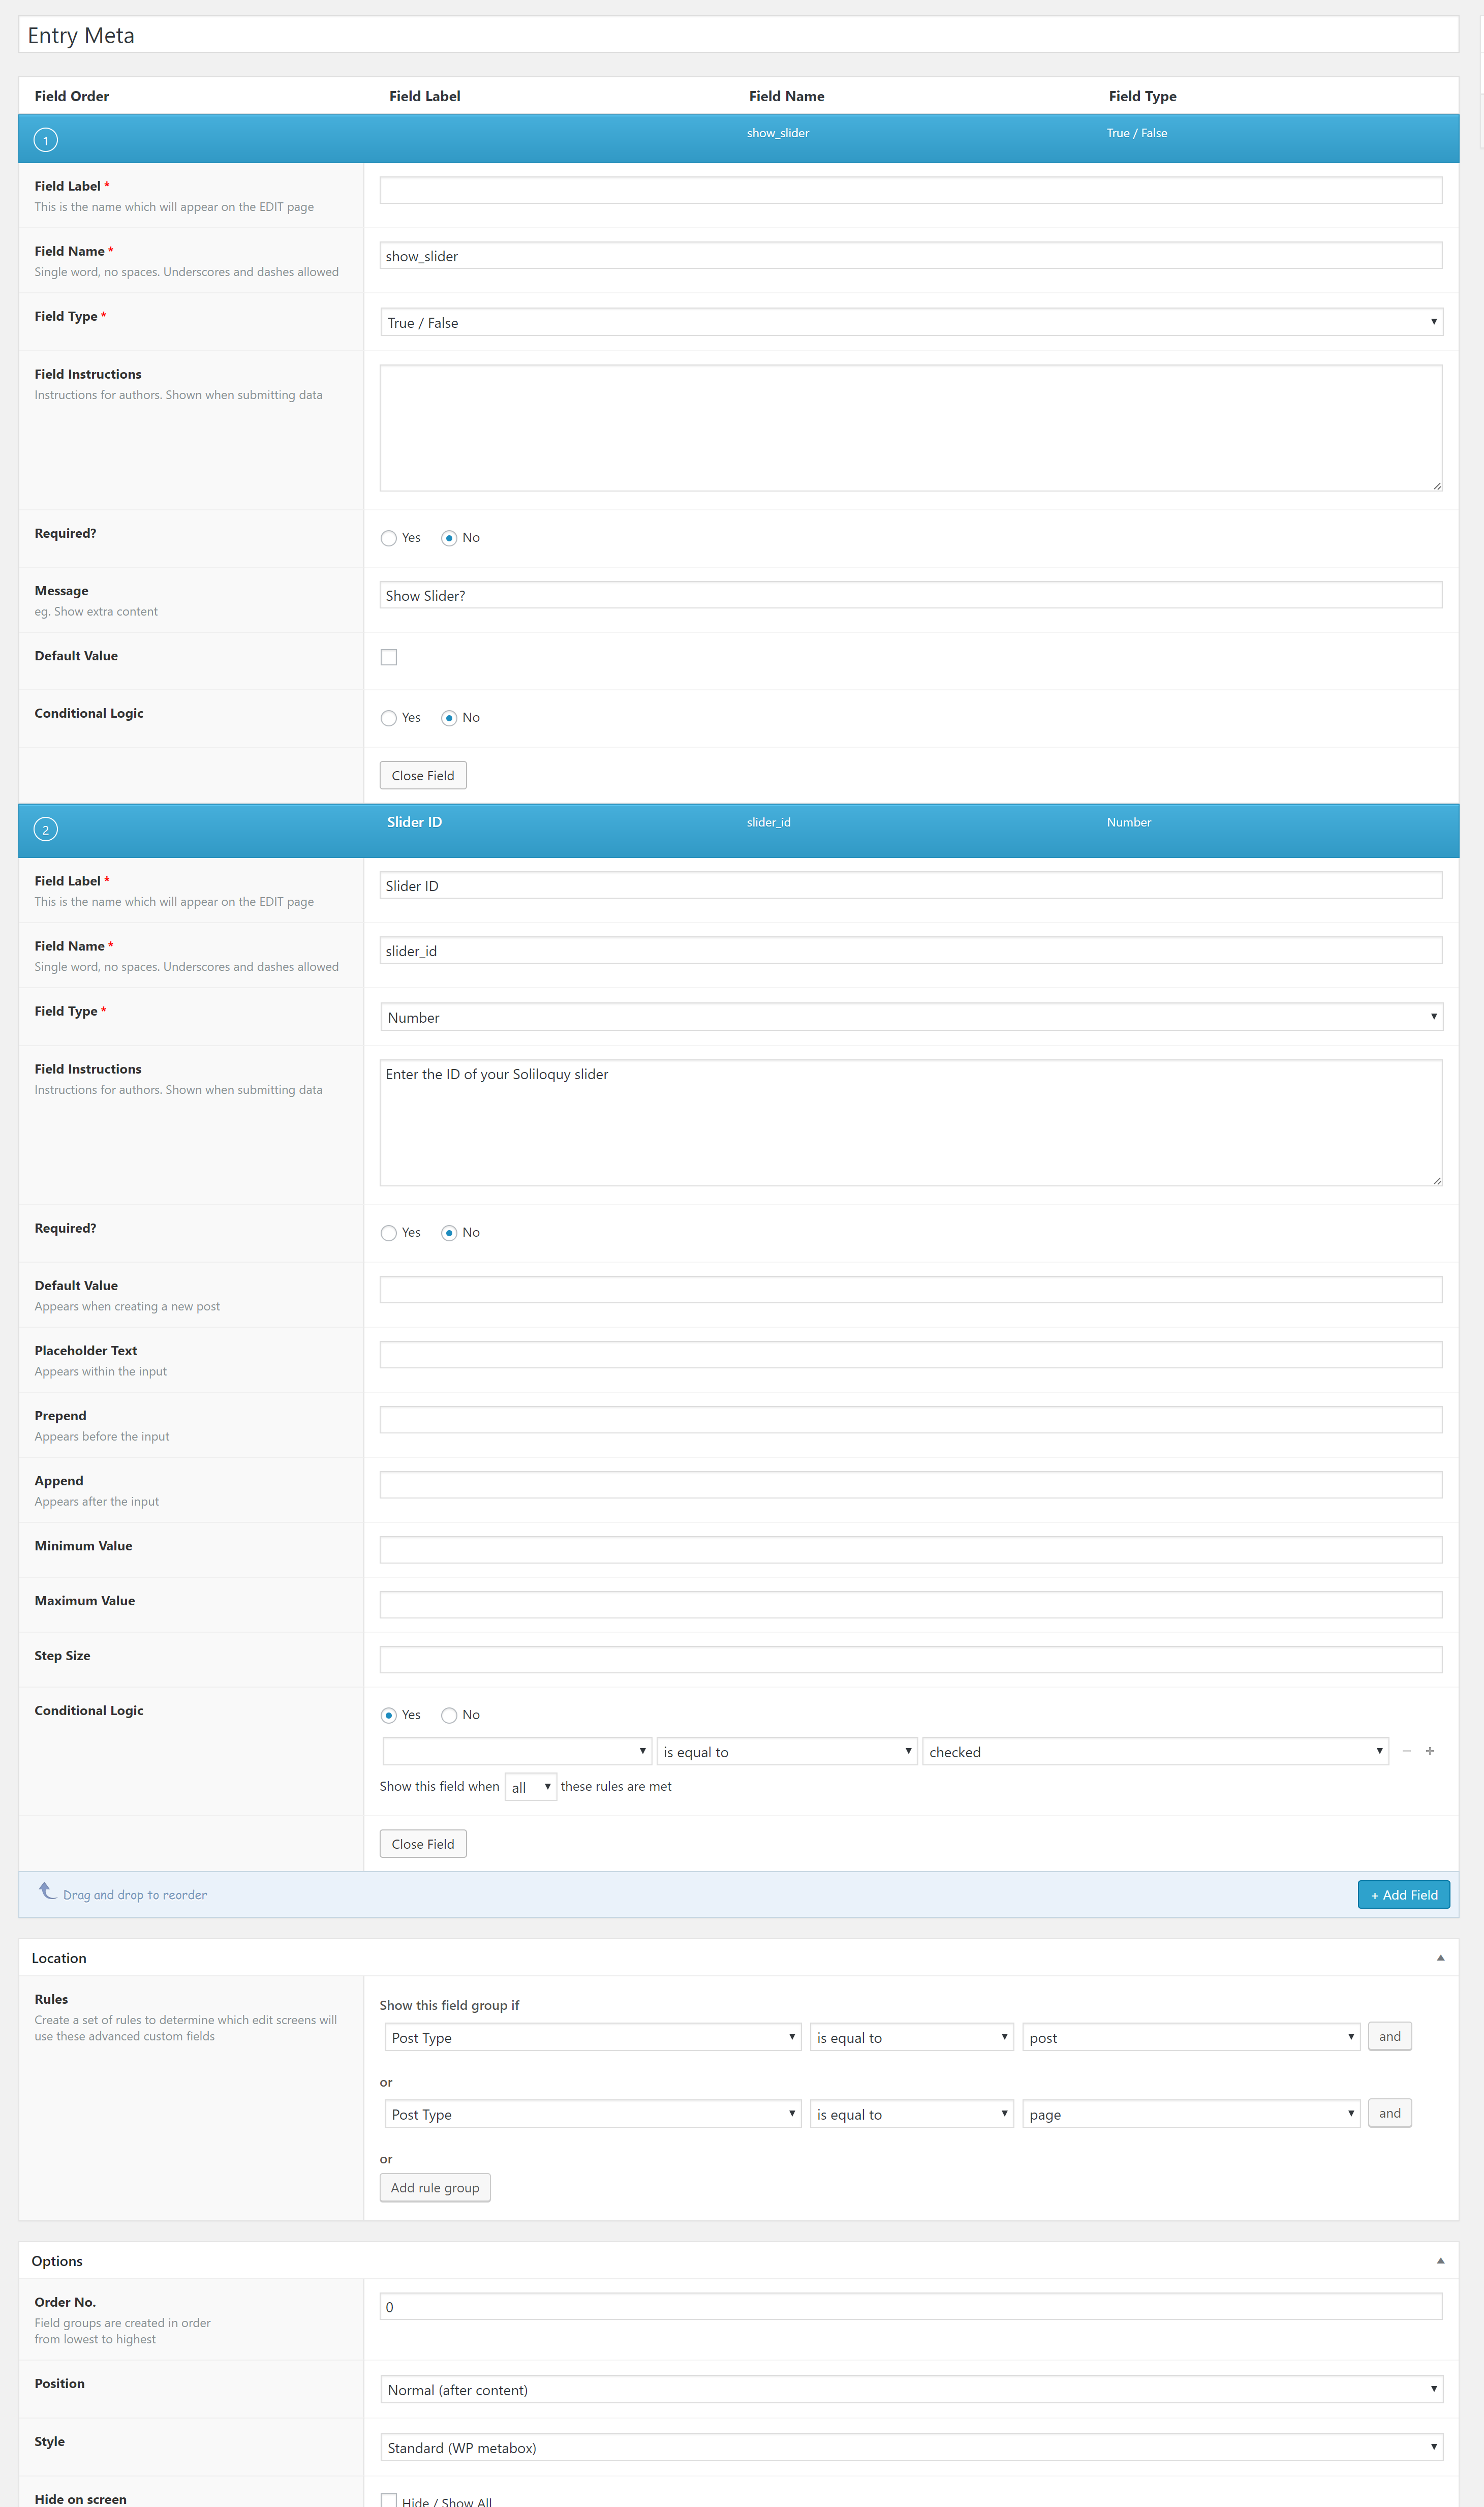
In this tutorial, we shall add a checkbox in the WordPress editor which when ticked, will display a number field in which Soliloquy slider's ID can be entered and then the corresponding slider will be set to appear full width on that singular entry's page with the fixed header overlayed on top - in Showcase Pro.

Screencast:
As can be seen in the above screencast, it is also possible to show a single image instead of a slider.
Tested in Showcase Pro v2.0.0
Step 1
Install and activate Advanced Custom Fields.
Import this field group named Entry Meta.

Step 2
Install and activate Soliloquy.
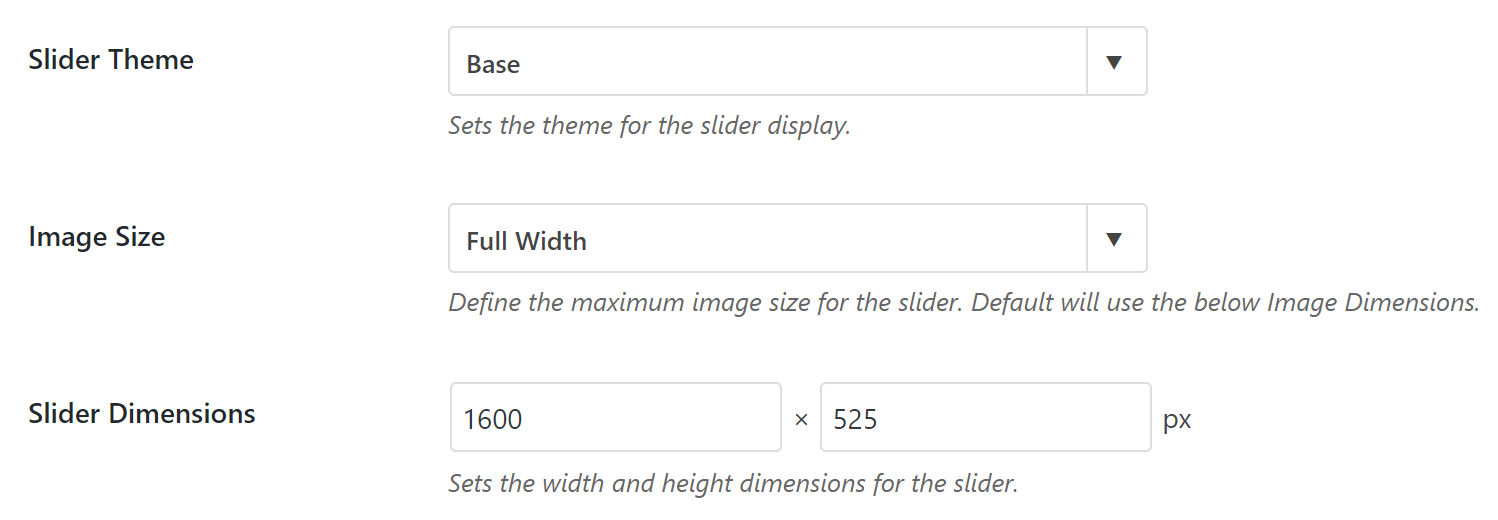
Create your desired sliders for Posts and Pages. Set image size to Full Width and enter the width and height of your slide images.

If you'd like the slides to have captions, add them in this sample HTML format:
<h3 class="slide-title">Showcase Pro</h3>

<div class="slide-text"><h1>Make an impact, beautifully.</h1>

<p><a href="//my.studiopress.com/themes/showcase" class="button arrow-right">Get Showcase</a></p></div>
In the Mobile tab, tick "Show Captions on Mobile?".
Step 3
Add the following in Showcase Pro's functions.php:
To view the full content, please sign up for the membership.
Already a member? Log in below or here.
[…] difference between this and the earlier tutorial is that we are going to set the header to have a solid background color here and set a padding […]
I’m finding that ACF export is an XML file and ACF is asking for a .json file to import.