Update on October 08, 2016: Also see https://sridharkatakam.com/split-navigation-menu-items-logos-left-right-genesis/
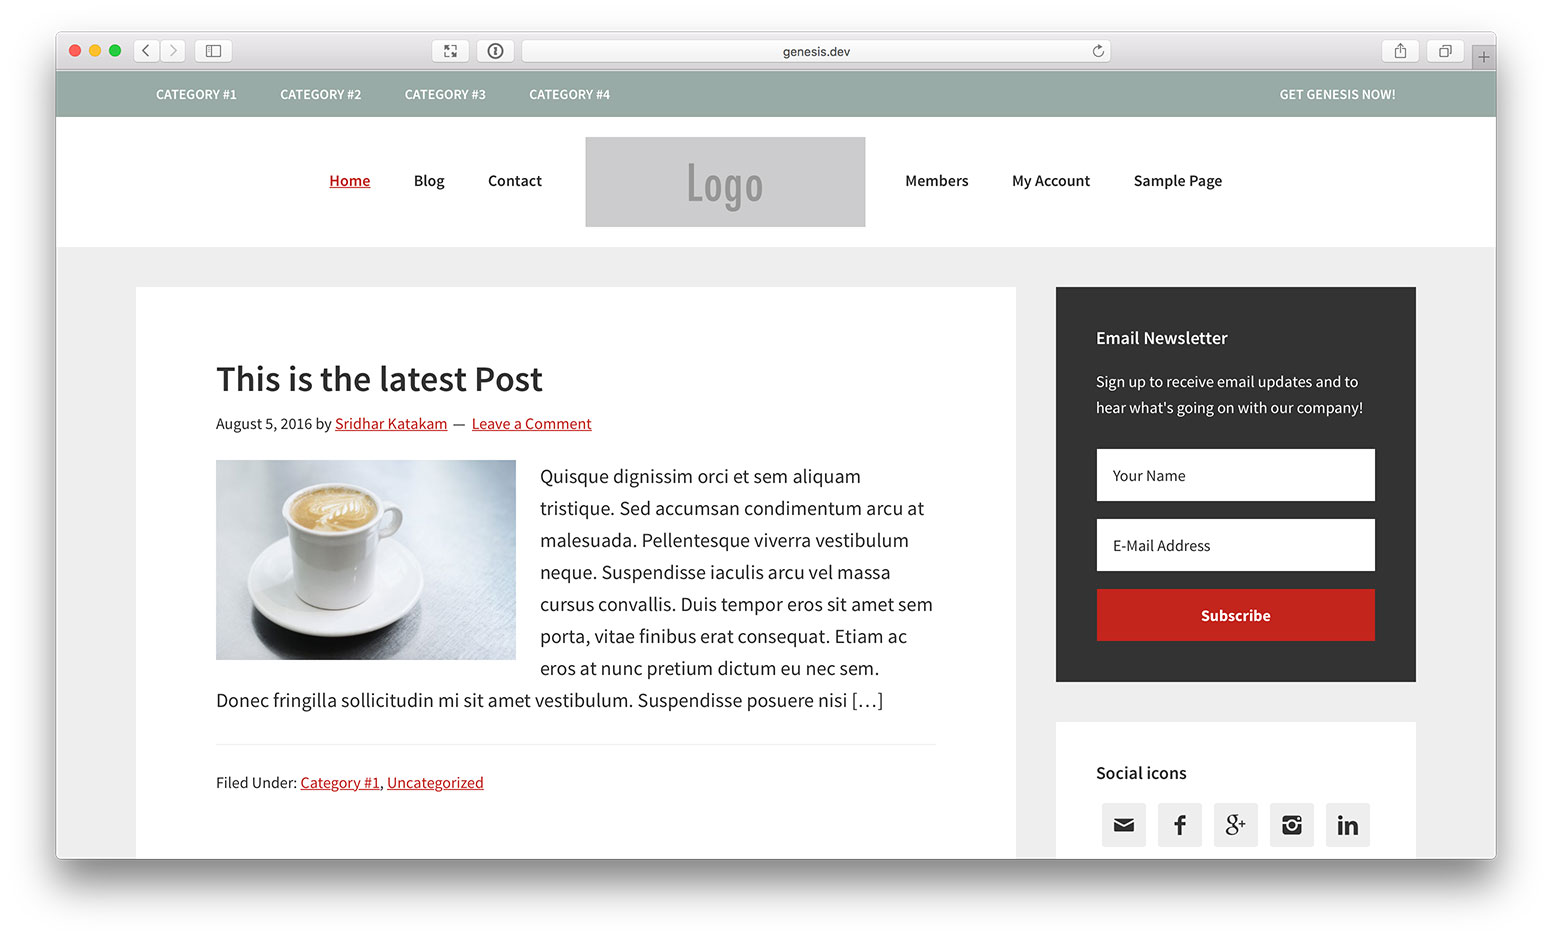
In Genesis Facebook group a user wanted to set up a fixed primary navigation and below that the site header having another nav menu split by a logo.

In this tutorial we shall
- relocate primary navigation menu from below the header to above and make it fixed
- set up inline image logo controllable via the customizer and hide it for screen widths above 1023px
- create a custom
headermenu location and assign a menu to it - show the split menu assigned to header theme location inside .site-header
- use WP Nav Plus to inject the logo (set in customizer) in between the menu items of header nav
in Genesis.
At 1023px and below, the split (header) menu's items will be moved above the primary nav's - all collapsed into a hamburger menu. The inline logo will appear below the menu icon.
While the tutorial has been written for Genesis Sample child theme it should work with adjustments in any Genesis child theme.
Step 1
Install and activate WP Nav Plus.
Step 2
Edit child theme's functions.php
a) Comment out or delete
add_theme_support( 'custom-header', array(
	'width'           => 600,
	'height'          => 160,
	'header-selector' => '.site-title a',
	'header-text'     => false,
	'flex-height'     => true,
) );
b) Change
add_theme_support( 'genesis-menus' , array( 'primary' => __( 'After Header Menu', 'genesis-sample' ), 'secondary' => __( 'Footer Menu', 'genesis-sample' ) ) );to
To view the full content, please sign up for the membership.
Already a member? Log in below or here.
[…] my last tutorial I wanted to output a nav menu assigned to a particular theme location with the nav element having […]
[…] Update on September 02, 2016: For an updated tutorial on this topic, see Fixed Primary Nav and Split Header Nav in Genesis. […]
[…] the menu items of a nav bar into left and right areas with header image (logo) in the middle here. That tutorial relied on a (commercial) plugin WP Nav […]