This tutorial is somewhat related to Displaying CPT entries grouped by Custom Taxonomies in Genesis and is a result of this Facebook discussion.
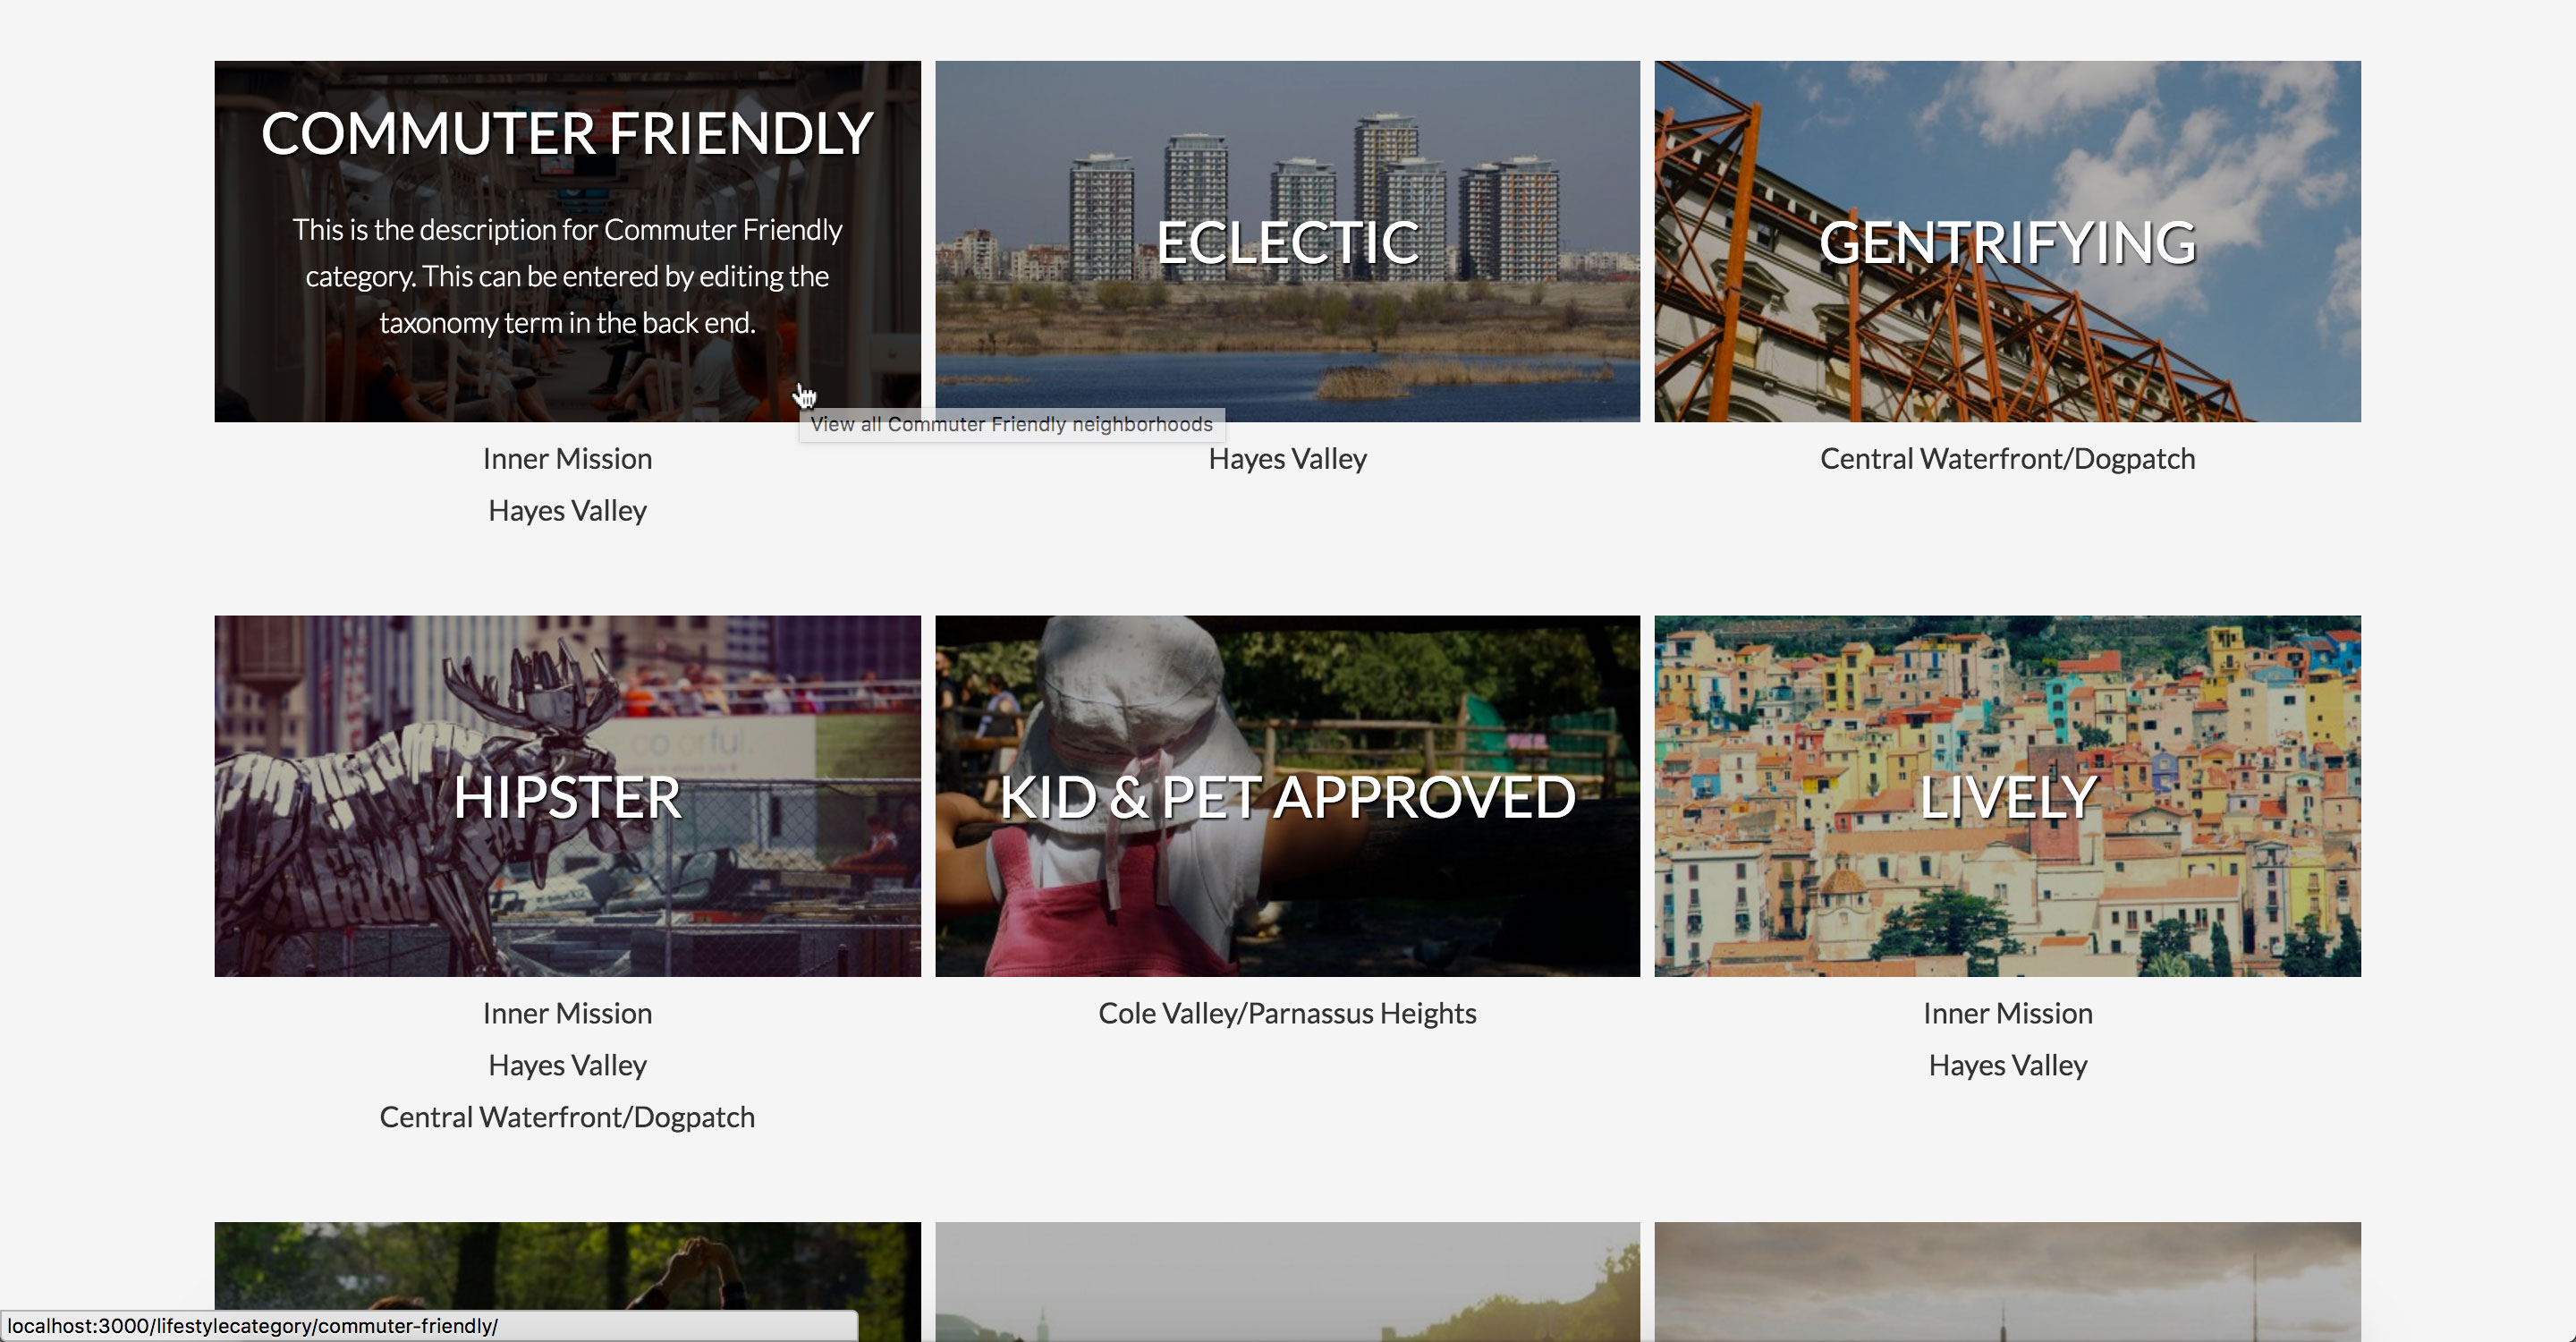
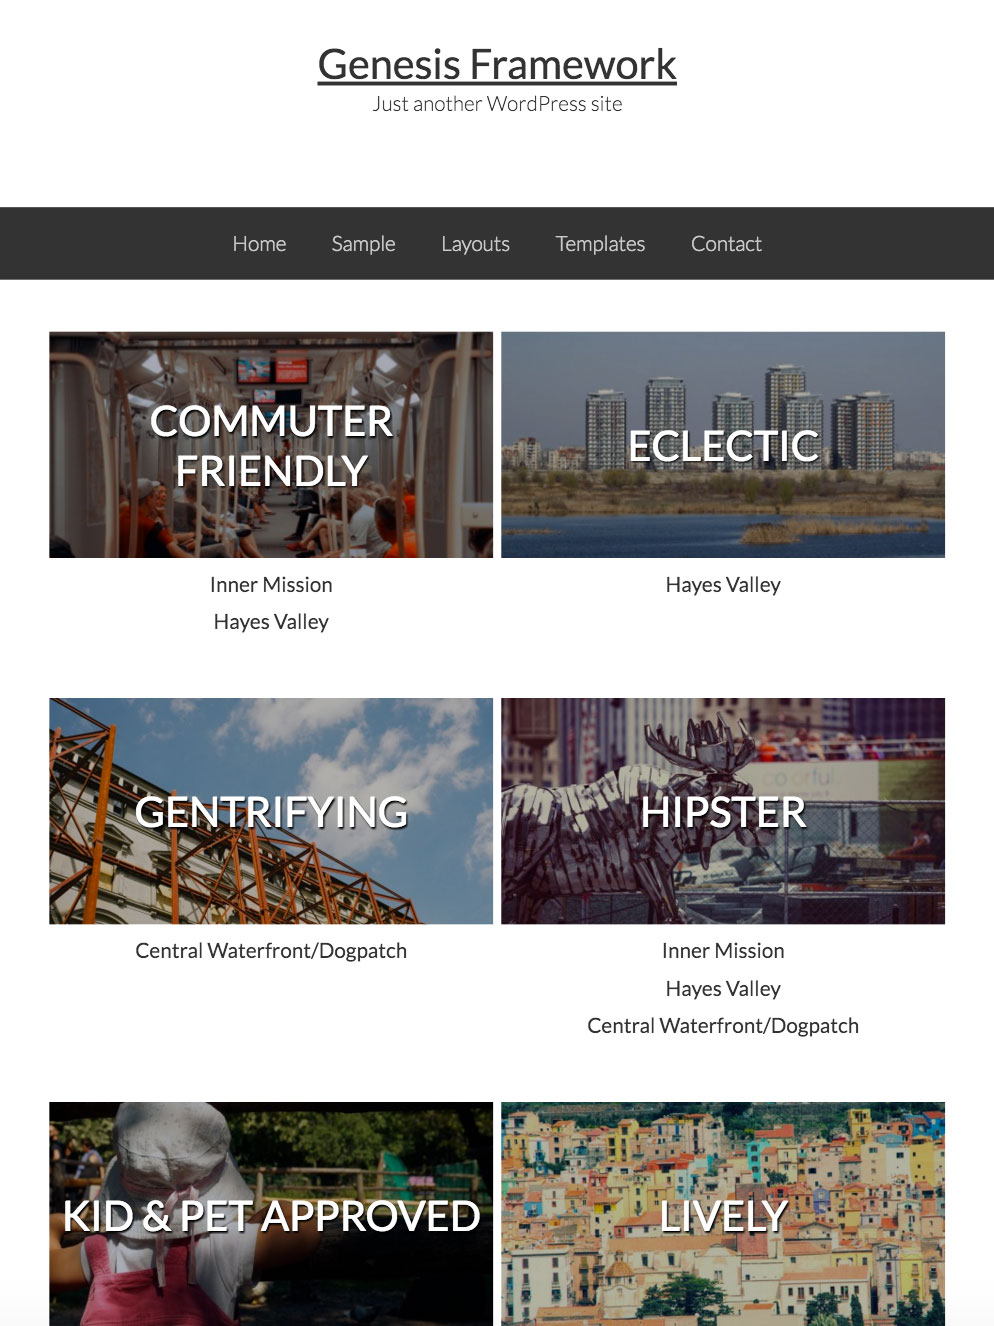
In this article we shall create a Page Template in Genesis that displays a 3-column grid of terms of a custom taxonomy with title overlay in regular state and title + description sliding up on hover. Below the images, linked titles of entries of a CPT belonging to that custom taxonomy term will appear.
Screencast:
Screenshots:
Dekstop:
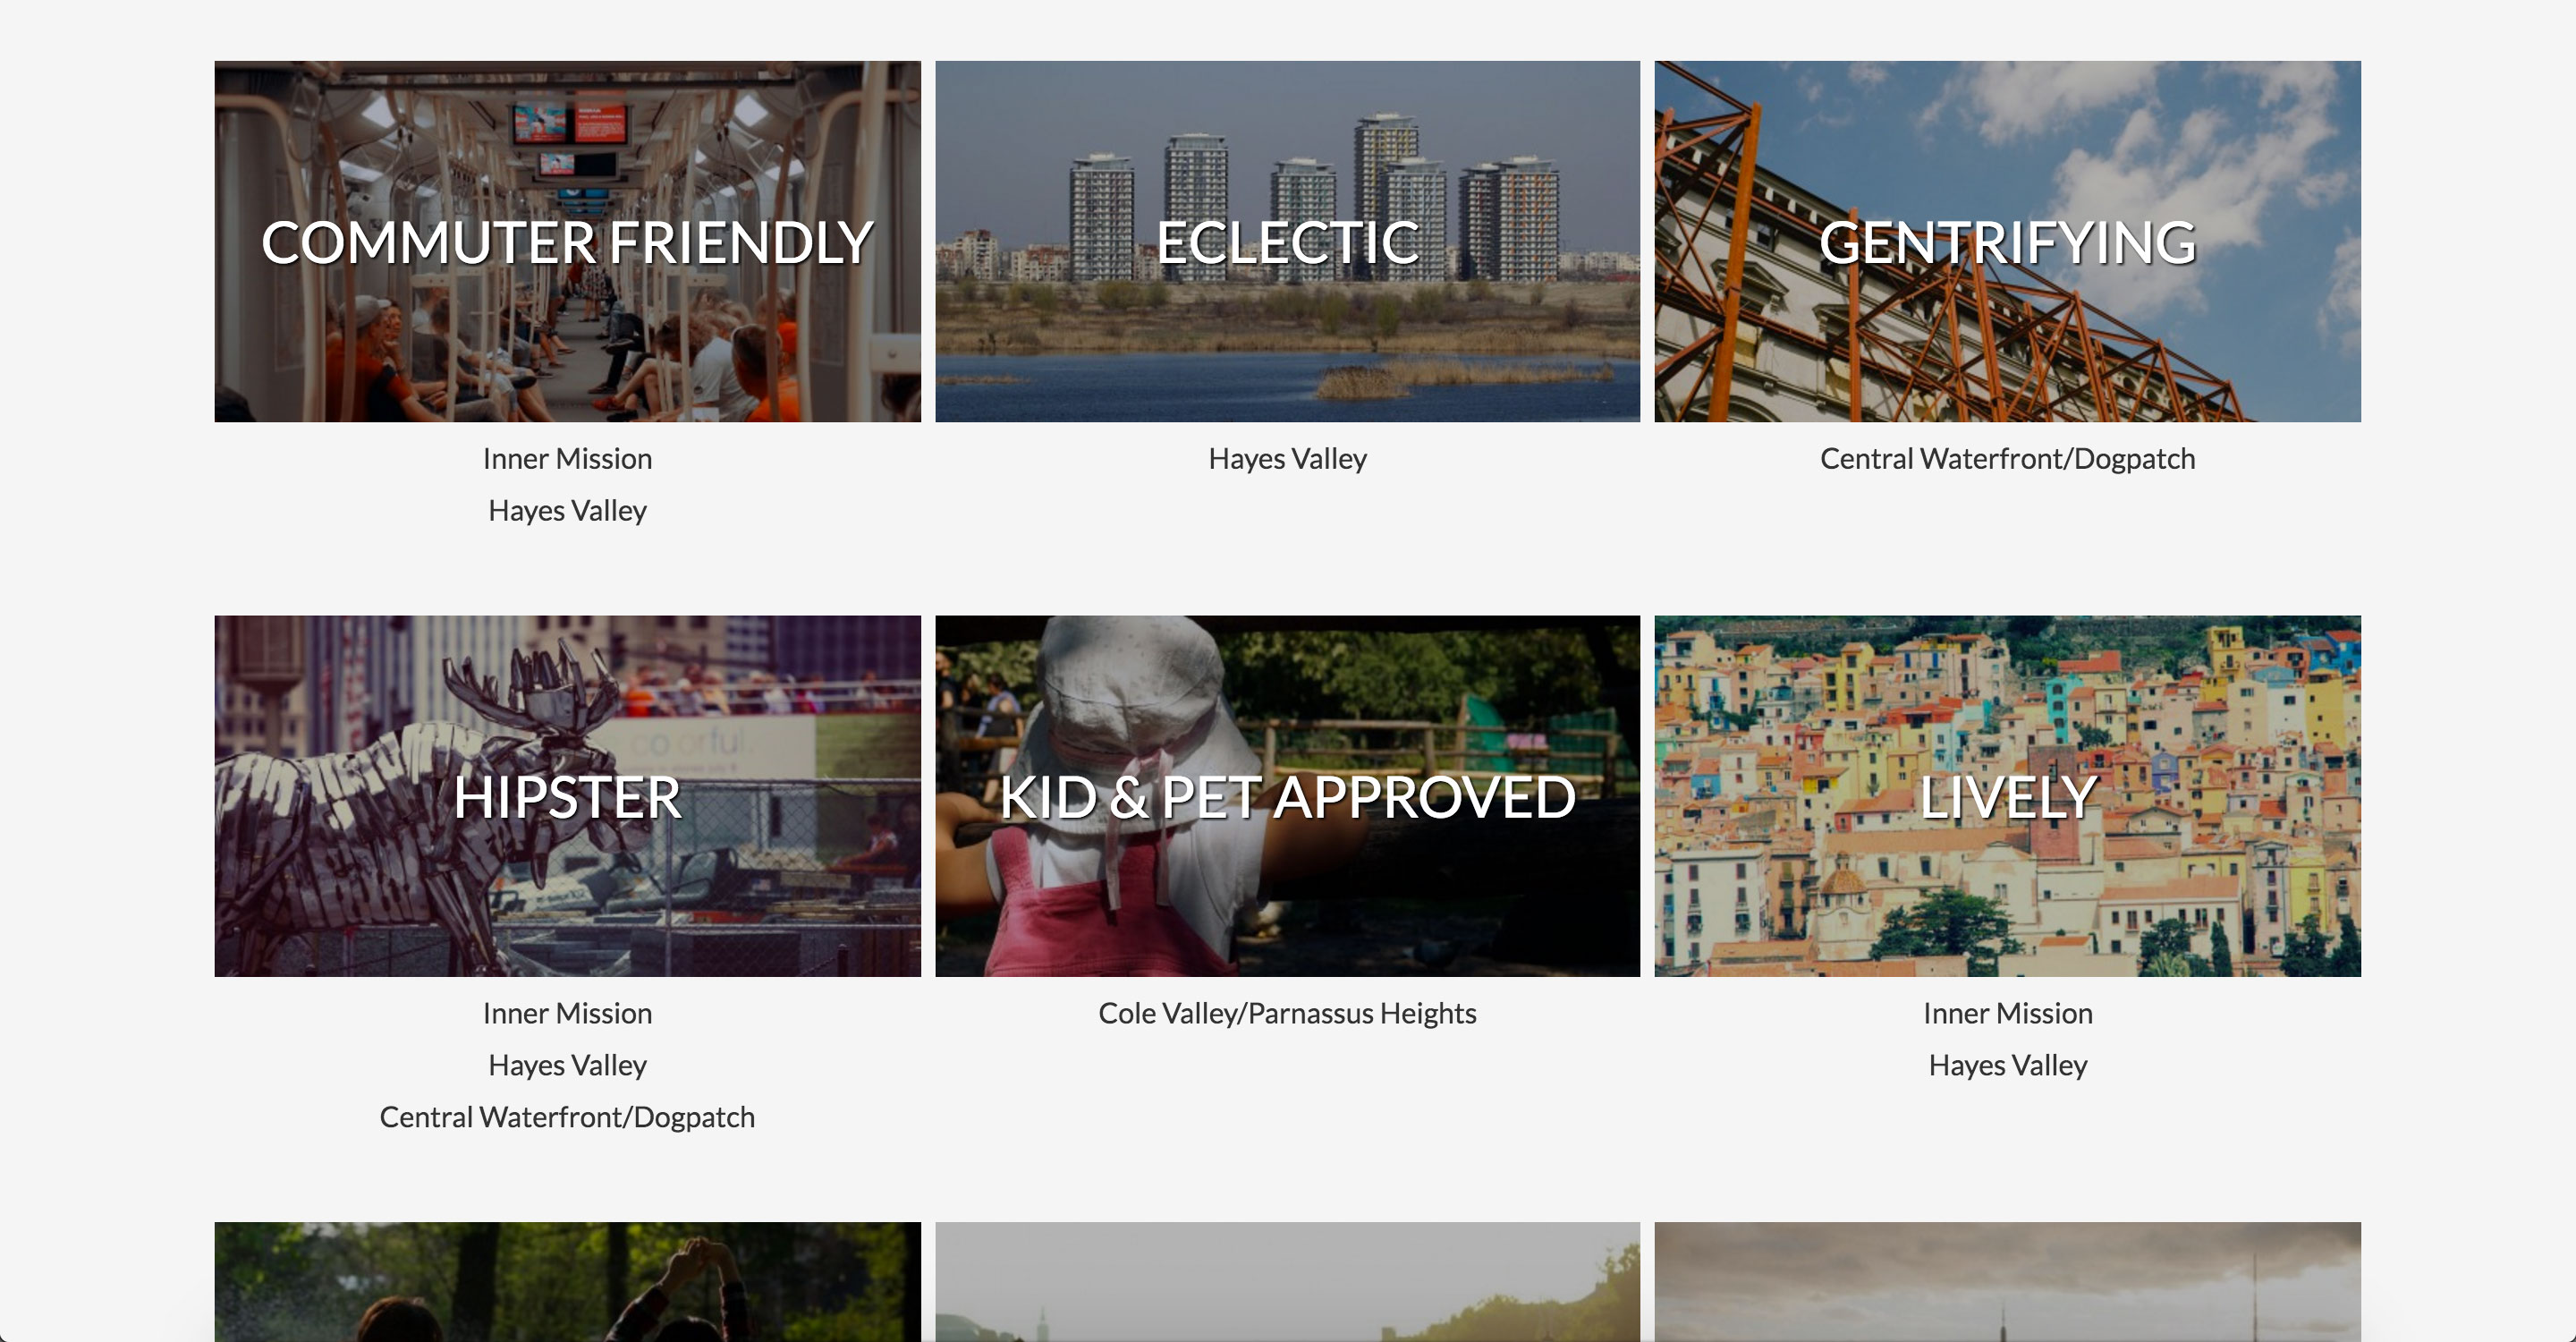
When hovered:
iPad (Portrait):
iPhone (Portrait):

Here is the summary of solution:
- Use Pods to register Neighborhoods Custom Post Type and an associated Lifestyle Categories custom taxonomy.
- Use Taxonomy Images plugin to associate images with the lifestylecategory custom taxonomy terms.
- Create a static Page called Neighborhoods and add a corresponding page-neighborhoods.php template in which we
- force full width content layout
- check to see if there is at least 1 term in our custom taxonomy. If yes, replace the standard Page loop with a custom one otherwise show the default Page loop (content of the Page)
- in the loop we shall get the taxonomy terms and for each term echo term meta like the image, title, description and run a WP Query to retrieve linked titles of neighborhood CPT entries that have been categorized under that term
- finally add the CSS needed to center overlay the title, hide the term description text and then on hover, move the title up and then display the description below it
Step 1
Install and activate Pods and Taxonomy Images plugins.
Step 2
Under Pods Admin admin menu section, create a new
a) CPT like so:
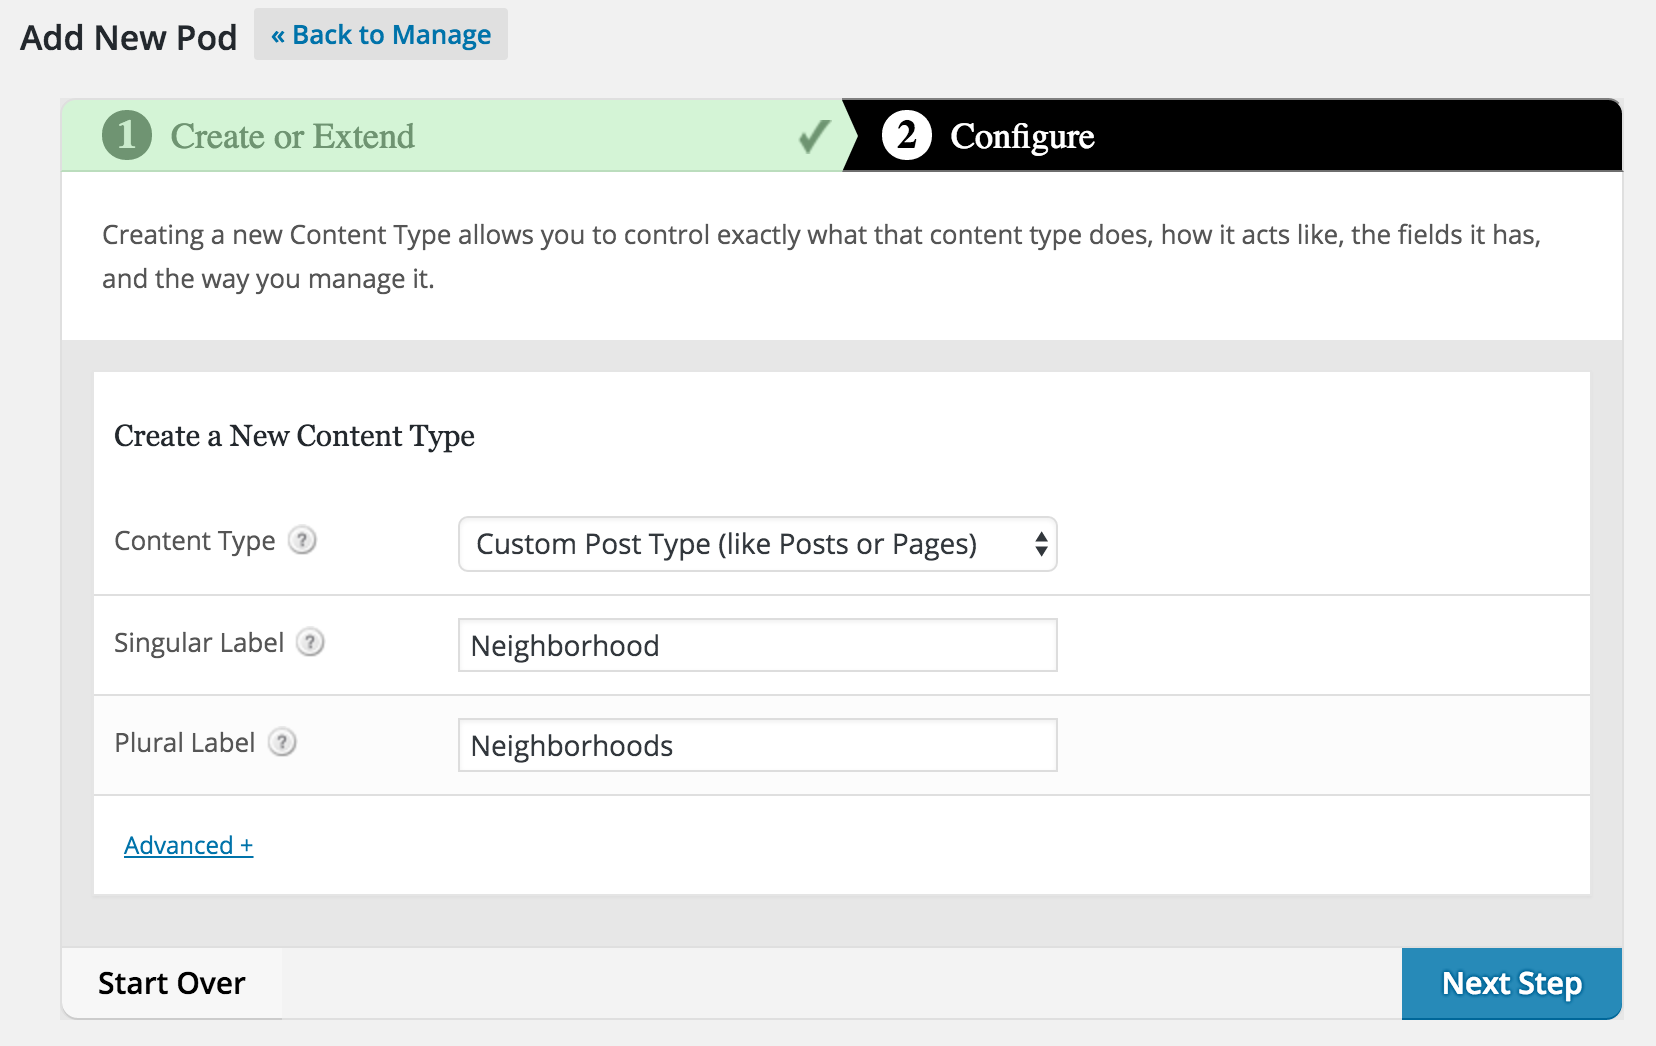
In Advanced Options enable support for Featured Image.
b) custom taxonomy like so:
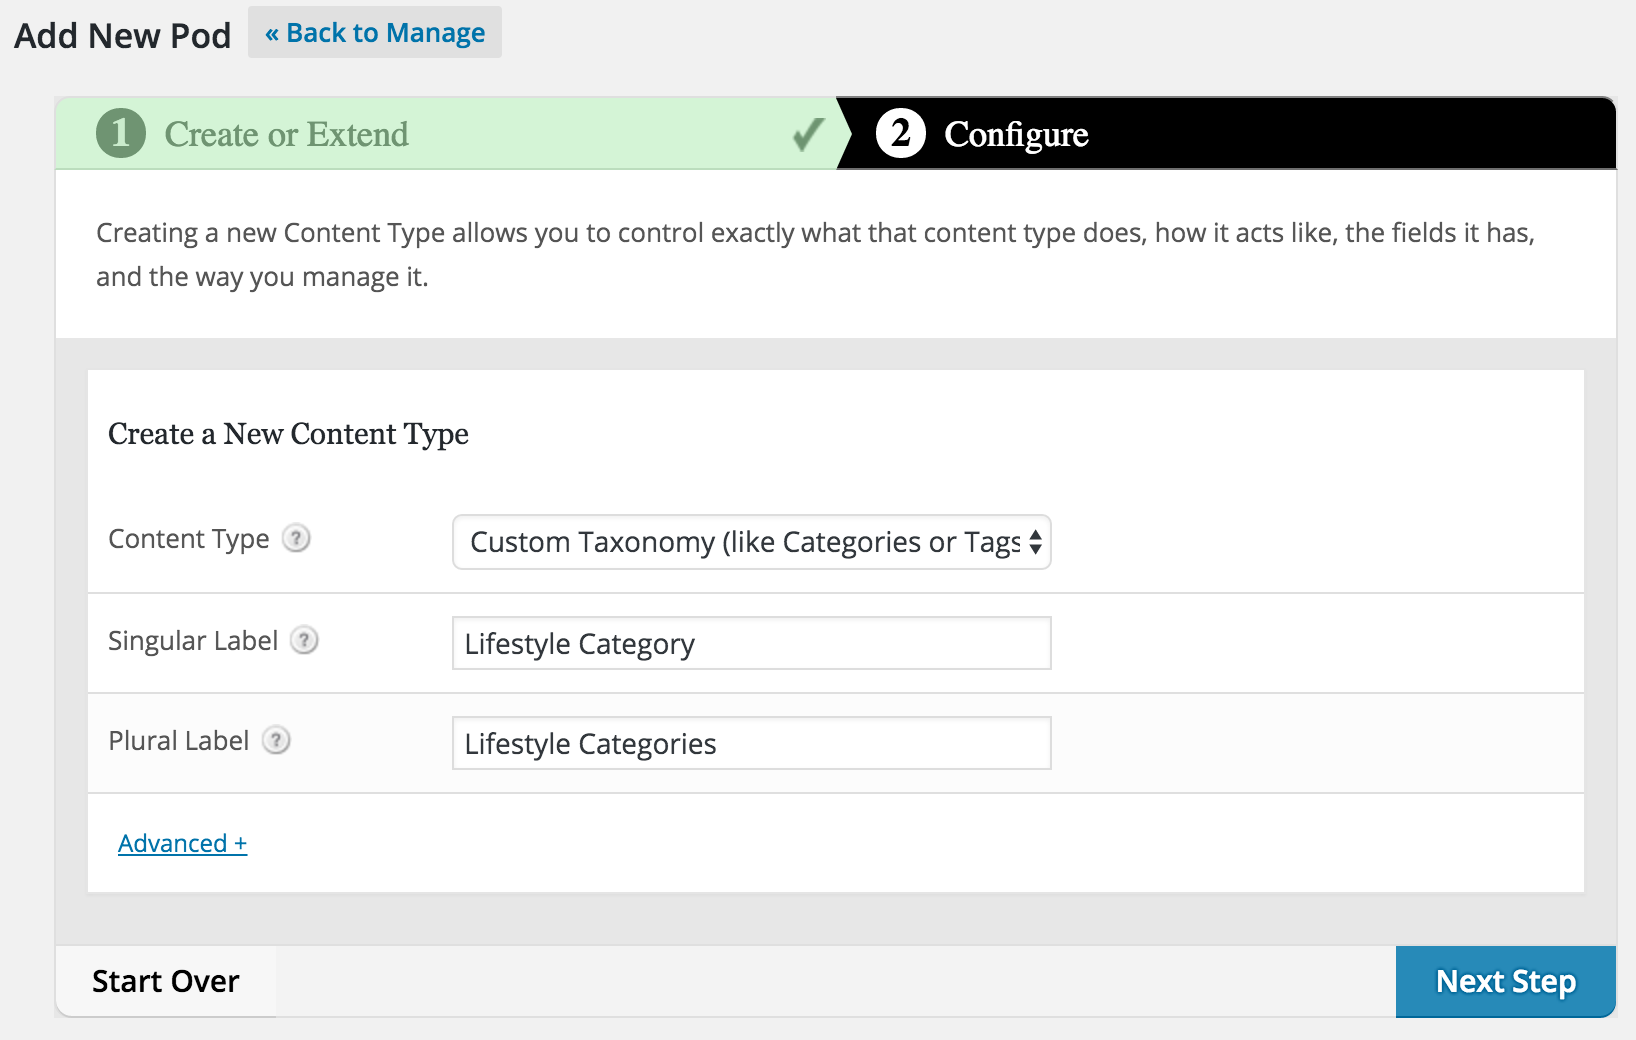
In Advanced Options tick Hierarchical and 'Neighborhoods (neighborhood)' for Associated Post Types.
In Admin UI you might want to tick 'Show Taxonomy column on Post Types'.
Step 3
Go to Neighborhoods > Add New and create your CPT entries. Assign them to their corresponding Lifestyle Categories.
Step 4
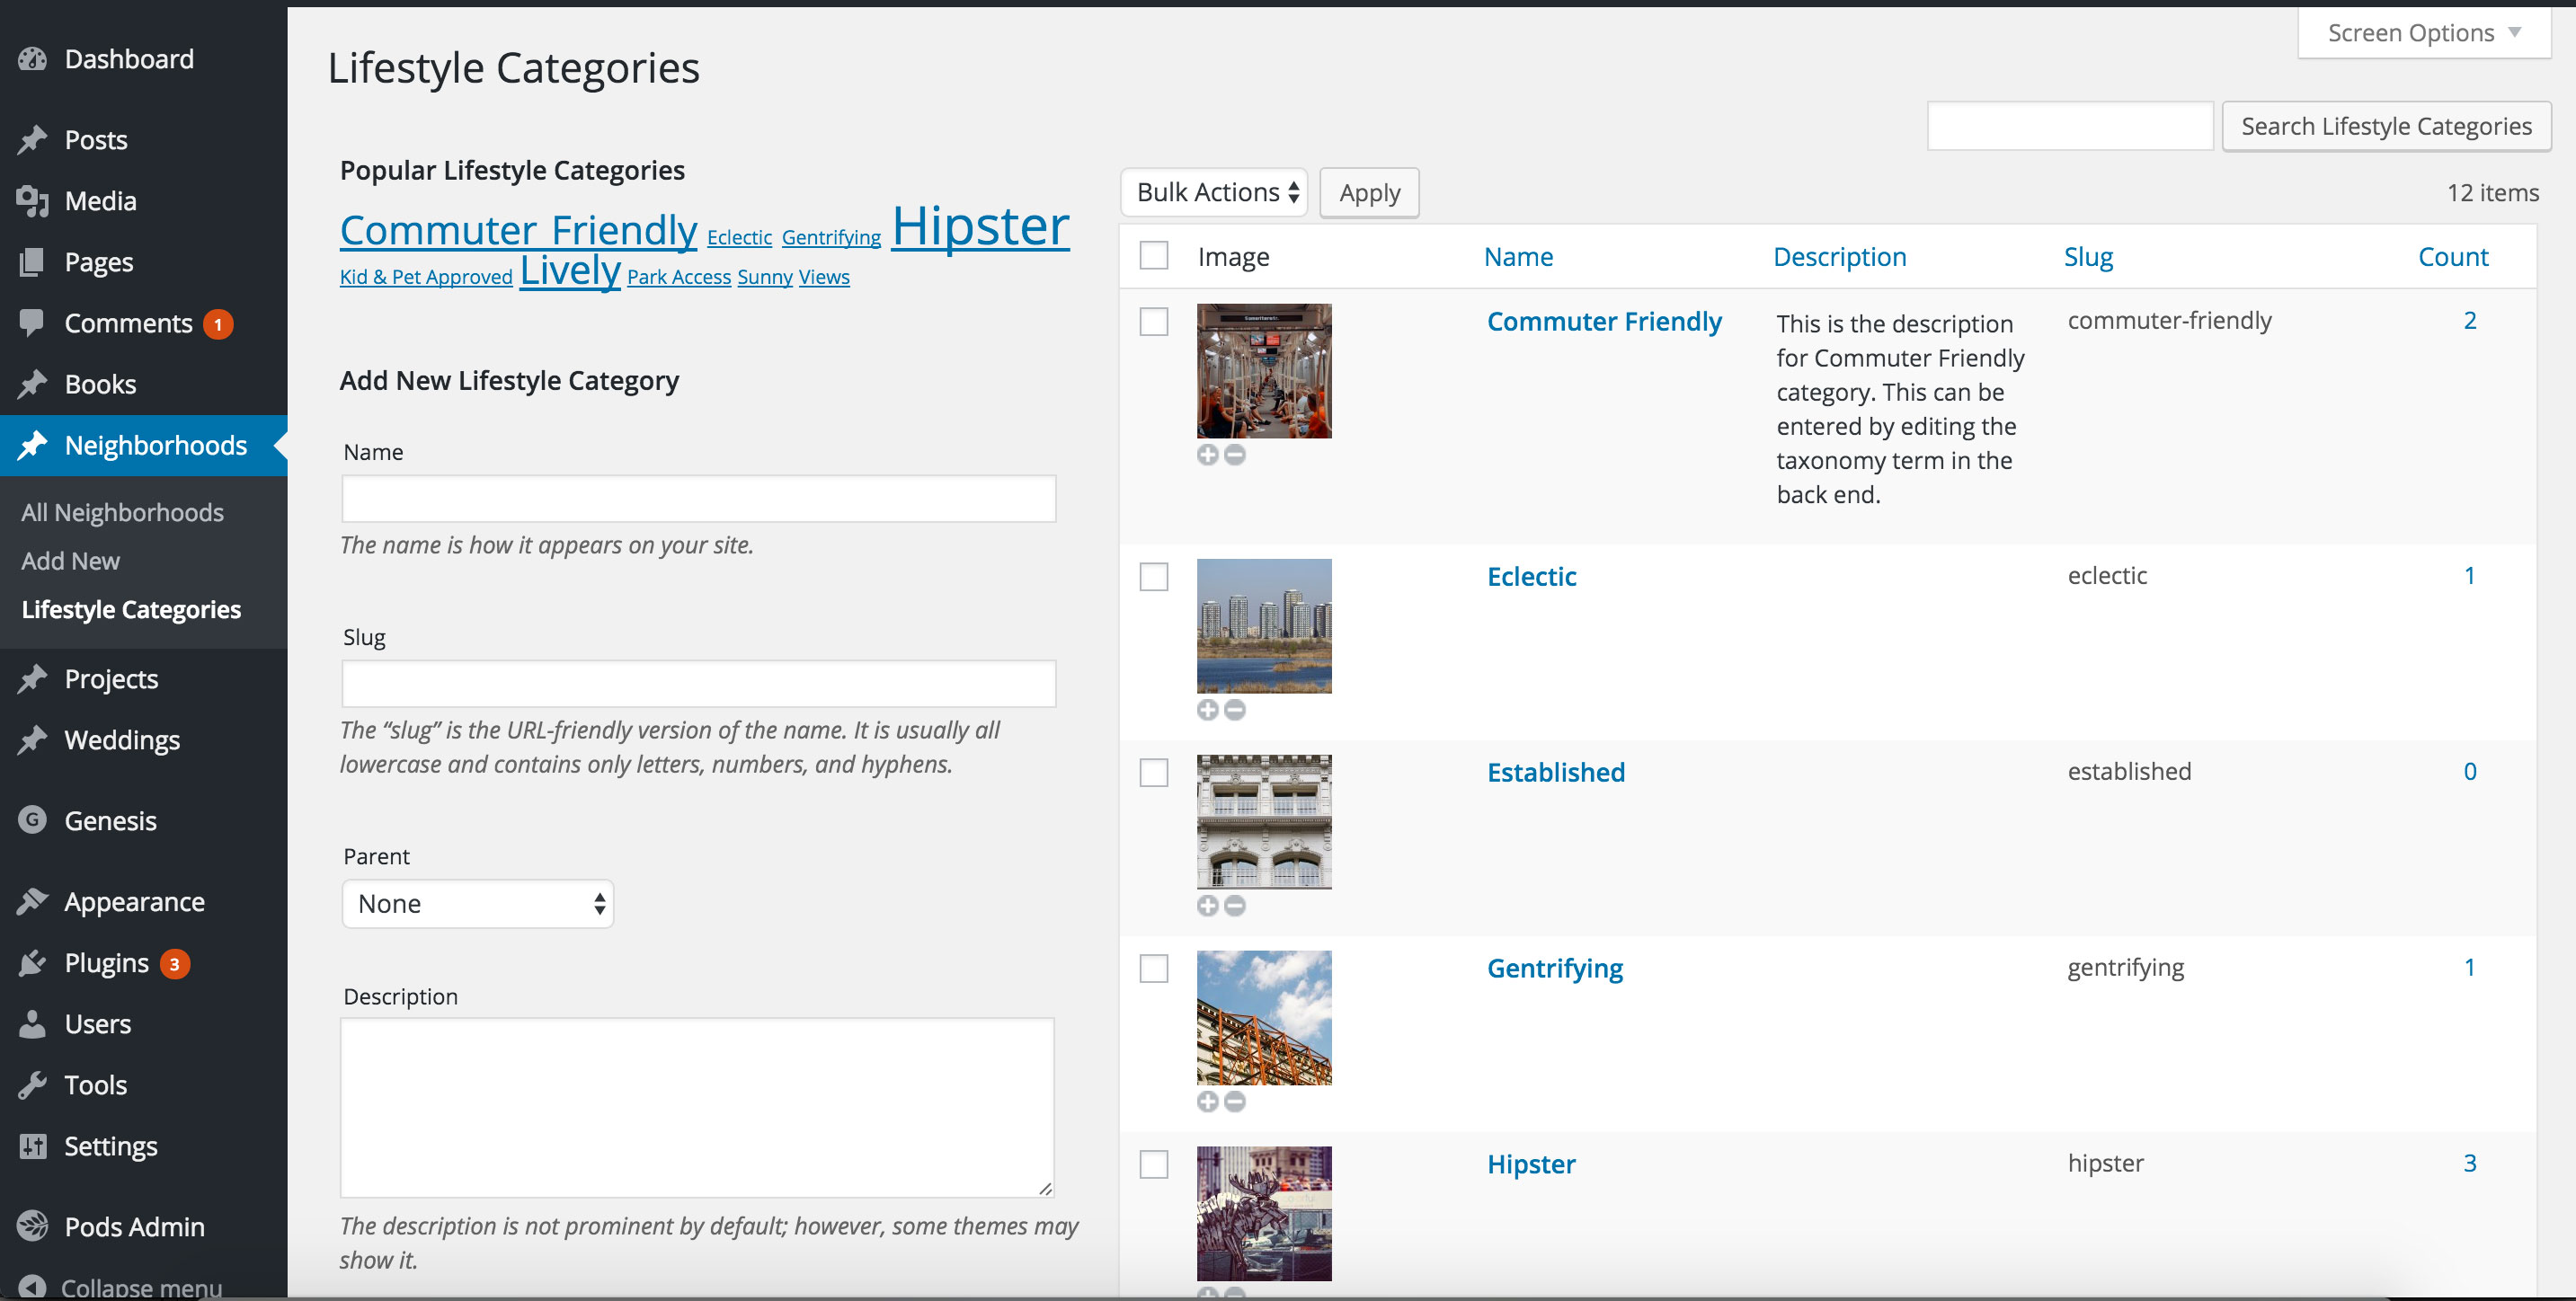
At Settings > Taxonomy Images, tick 'Lifestyle Categories'.
At Neighborhoods > Lifestyle Categories click the + signs and upload/select your desired taxonomy term images.
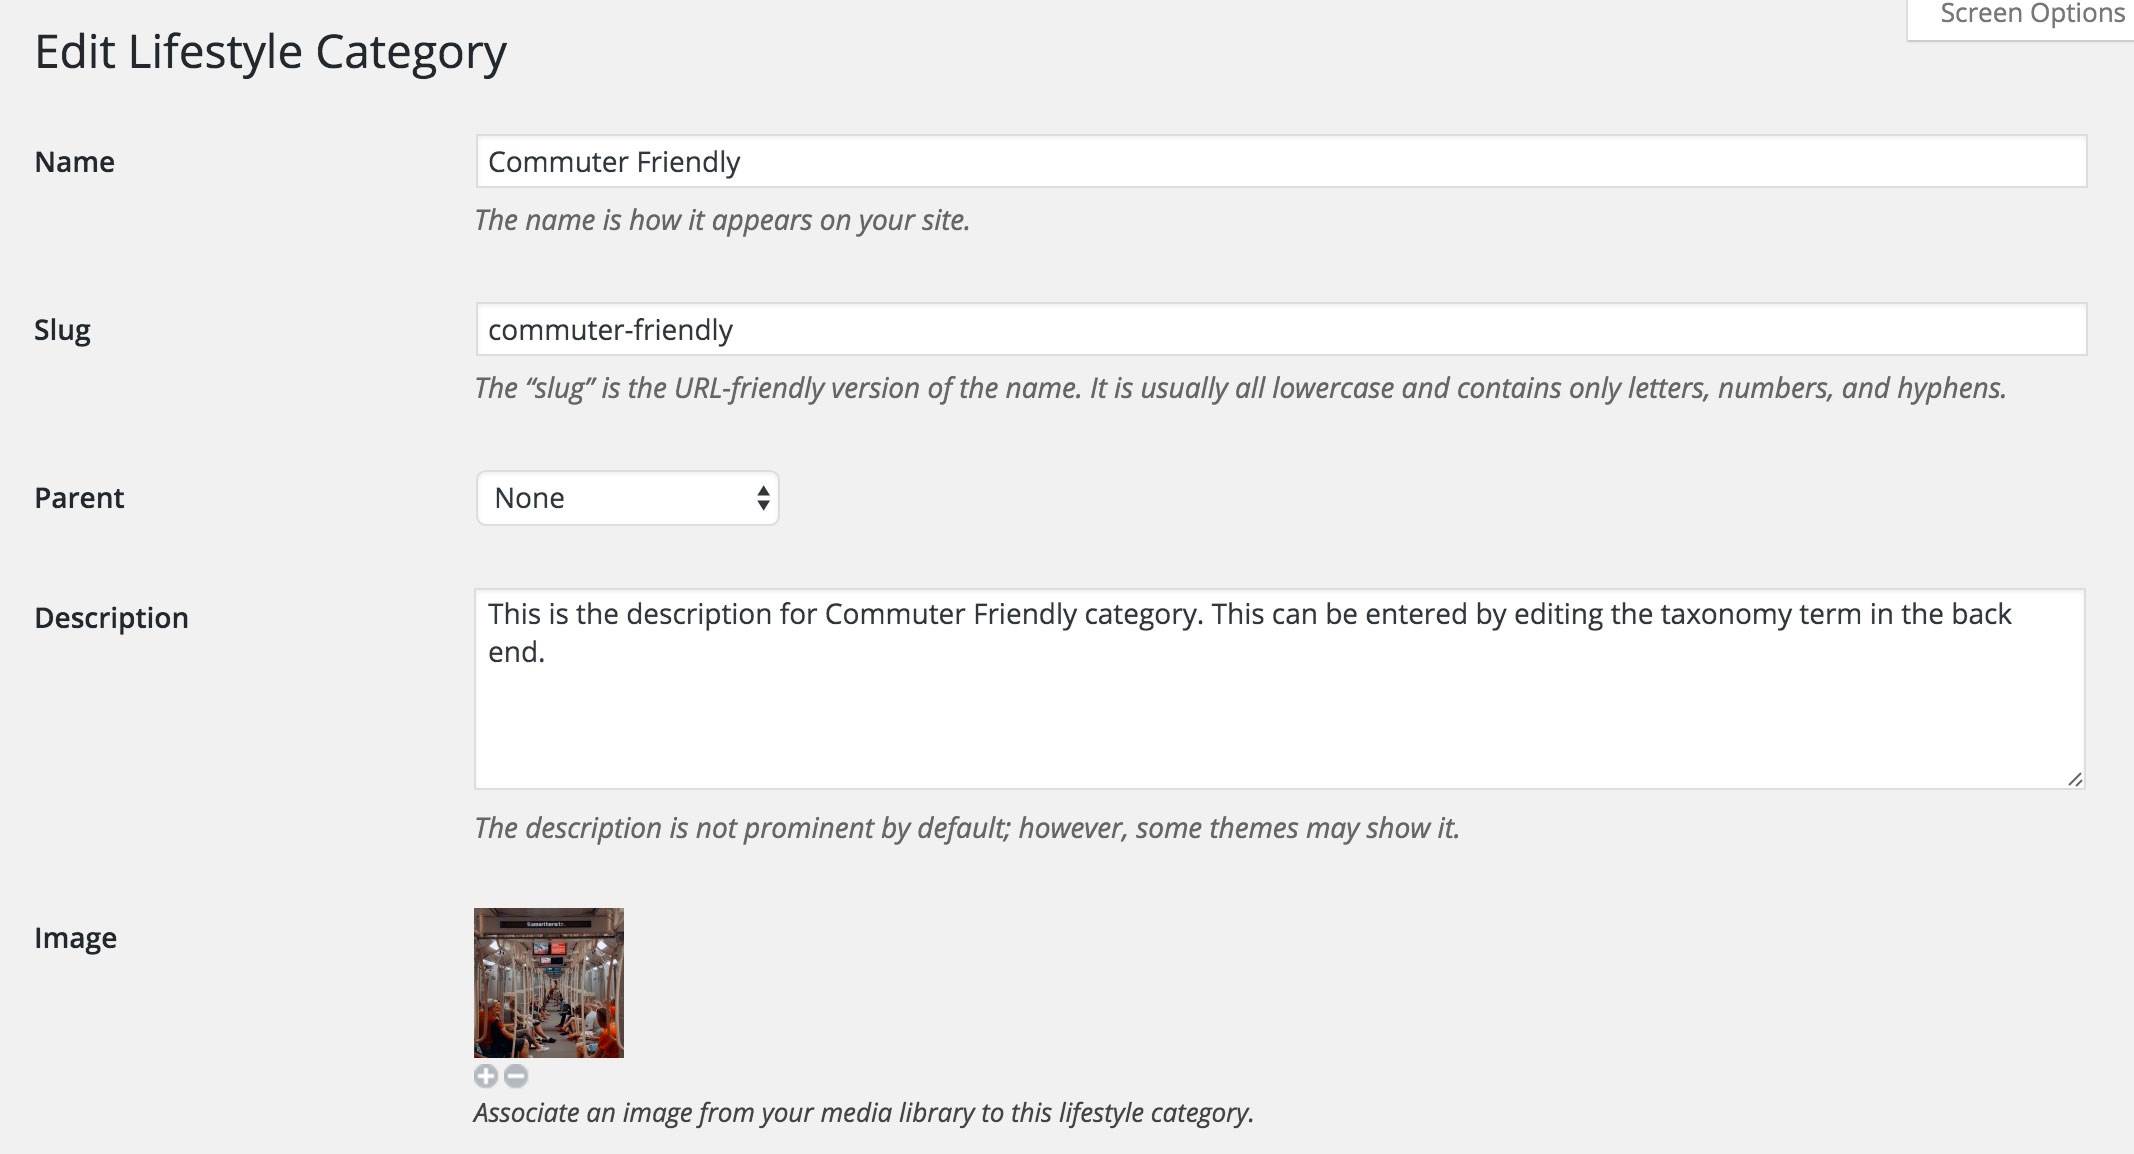
You might also want to optionally enter a description by editing the terms. This will appear when the image is hovered.
Step 5
Add the following in child theme's functions.php:
To view the full content, please sign up for the membership.
Already a member? Log in below or here.
i’m following this to the letter and nothing is showing up on my neighborhoods page …. any ideas as to what i could be doing wrong?
Can you provide the URL of neighborhoods page in your site?
it’s on a staging server that is password protected, would you please email me at [email protected] and i can give you the credentials. thanks so much.
Do you mind sending me the info via https://sridharkatakam.com/contact/ along with a URL of this tutorial?
will do. thank you!
Hi , I saw the url taxonomie in my dasboard “wp-admin/edit-tags.php?taxonomy=lifestyle_category&post_type=neighborhood” and then change the Term “‘taxonomy’ => ‘lifestylecategory’ ” by “‘taxonomy’ => ‘lifestyle_category’ ” in the page-neighborhoods.php template.