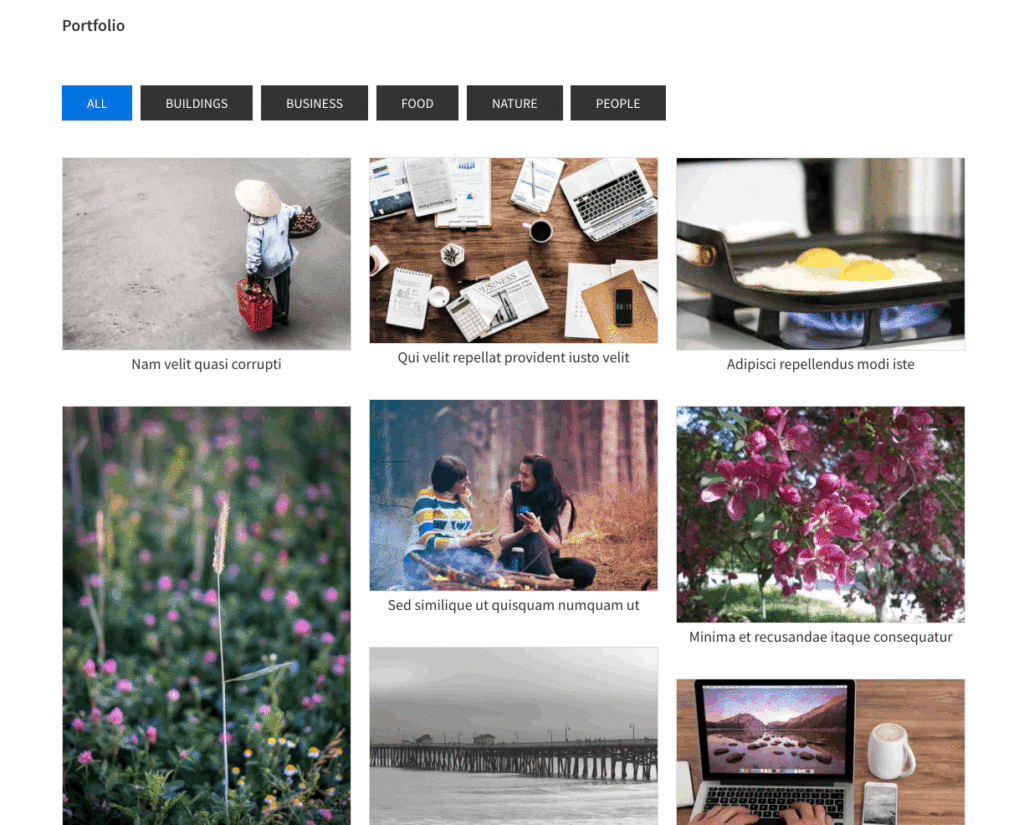
Theme version of this tutorial can be purchased from here.
This tutorial provides the steps to set up a filterable portfolio in Genesis using Isotope.
All the posts of the portfolio custom post type (CPT) will be set to appear on the CPT's archive in a Masonry grid with a portfolio category filters row.
Clicking on any filter button will narrow down the entries to only those that belong to that custom taxonomy (portfolio_category) term.
Entries will appear in a single column up to 599px, in 2 columns between 600px and 959px, and in 3 columns from 960px and above.
A placeholder image will be shown for items not having featured images.

The solution is modular - meaning, it can easily be reused on other index views like the Posts page and category archives with a few changes to the code.
While the tutorial has been written for Genesis Sample 2.6.0, it should work with a few adjustments in any Genesis theme.
Step 1
Create Portfolio Custom Post Type using a plugin like Portfolio Post Type.
This plugin automatically creates the portfolio CPT and the portfolio_category taxonomy used in the demo site.
Add Portfolio items and set their featured images. 600px is the ideal width. For the best masonry look, use images of varying heights.
Assign the portfolio entries to portfolio_category custom taxonomy.
Step 2
Add the following in child theme's functions.php:
To view the full content, please sign up for the membership.
Already a member? Log in below or here.
[…] June 05, 2018: Updated version of the tutorial here. […]
[…] a new functionality theme for those that do not want to implement the steps in the tutorial themselves or do not have membership in the […]