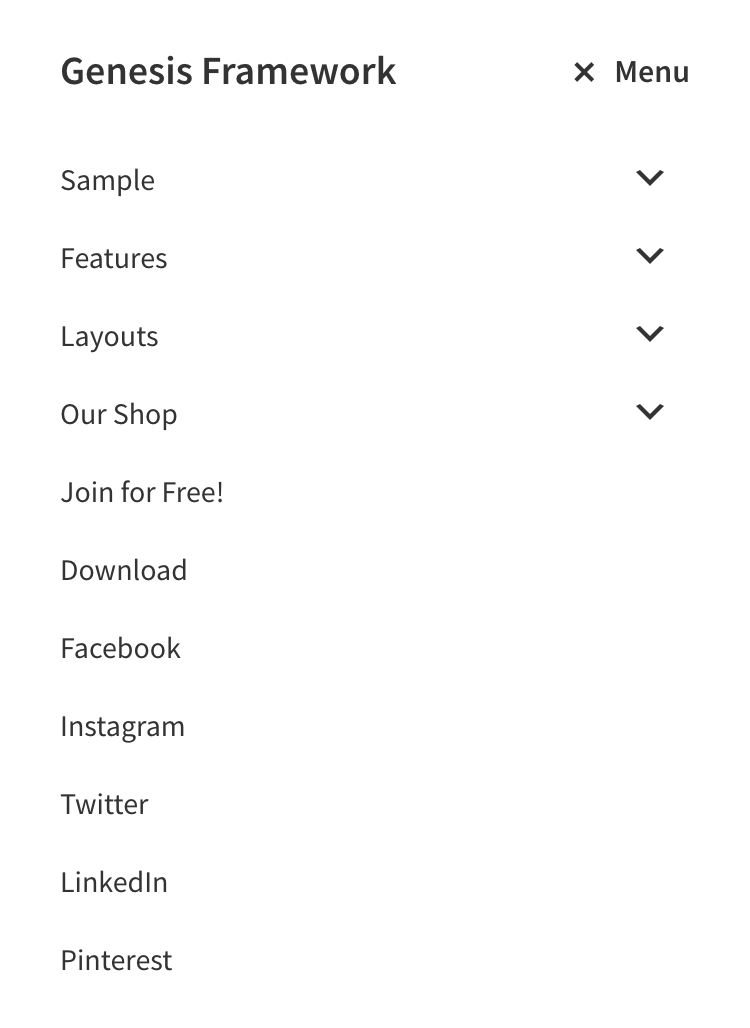
This tutorial provides the steps to register and display a custom menu in between the site title and primary nav menu in Genesis Sample 2.6.0.
Note: We are only going to show the custom menu to the left of or before the primary menu but it will still be after or below the primary menu in the HTML markup.
Step 1
Add Custom Navigation Theme Location in Genesis.
If you have not already, create and assign menus to both the locations.
Step 2
[Optional] If the custom menu's items should appear above the primary nav's in the mobile menu, set that order accordingly in functions.php like so:
function genesis_sample_responsive_menu_settings() {

    $settings = array(
        'mainMenu'         => __( 'Menu', 'genesis-sample' ),
        'menuIconClass'    => 'dashicons-before dashicons-menu',
        'subMenu'          => __( 'Submenu', 'genesis-sample' ),
        'subMenuIconClass' => 'dashicons-before dashicons-arrow-down-alt2',
        'menuClasses'      => array(
            'combine' => array(
                '.nav-custom',
                '.nav-primary',
            ),
            'others'  => array(),
        ),
    );

    return $settings;

}
Step 3
Edit style.css.
To view the full content, please sign up for the membership.
Already a member? Log in below or here.

