In the past, I wrote an article titled WooCommerce Shop Archive Image in Genesis using ACF Pro where Advanced Custom Fields Pro was used to create a Settings page having an image upload/selection meta box.
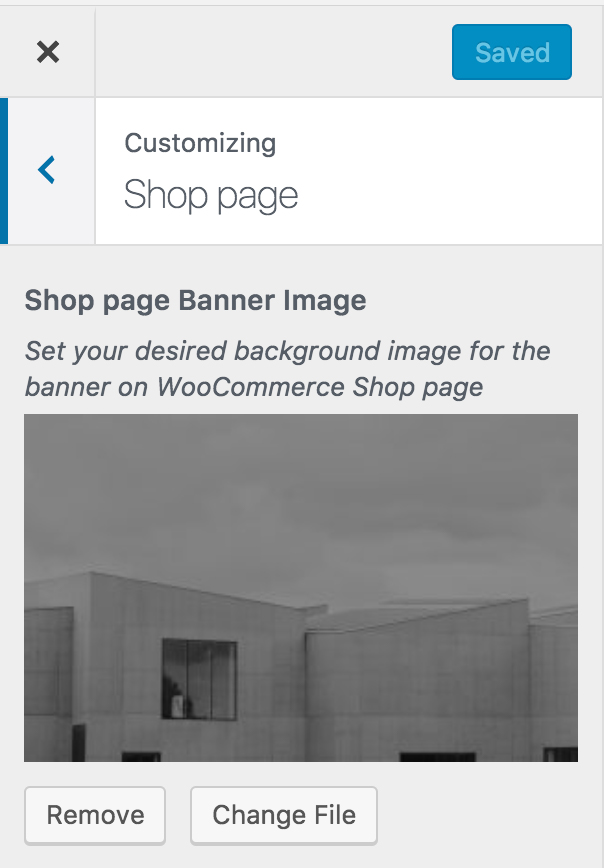
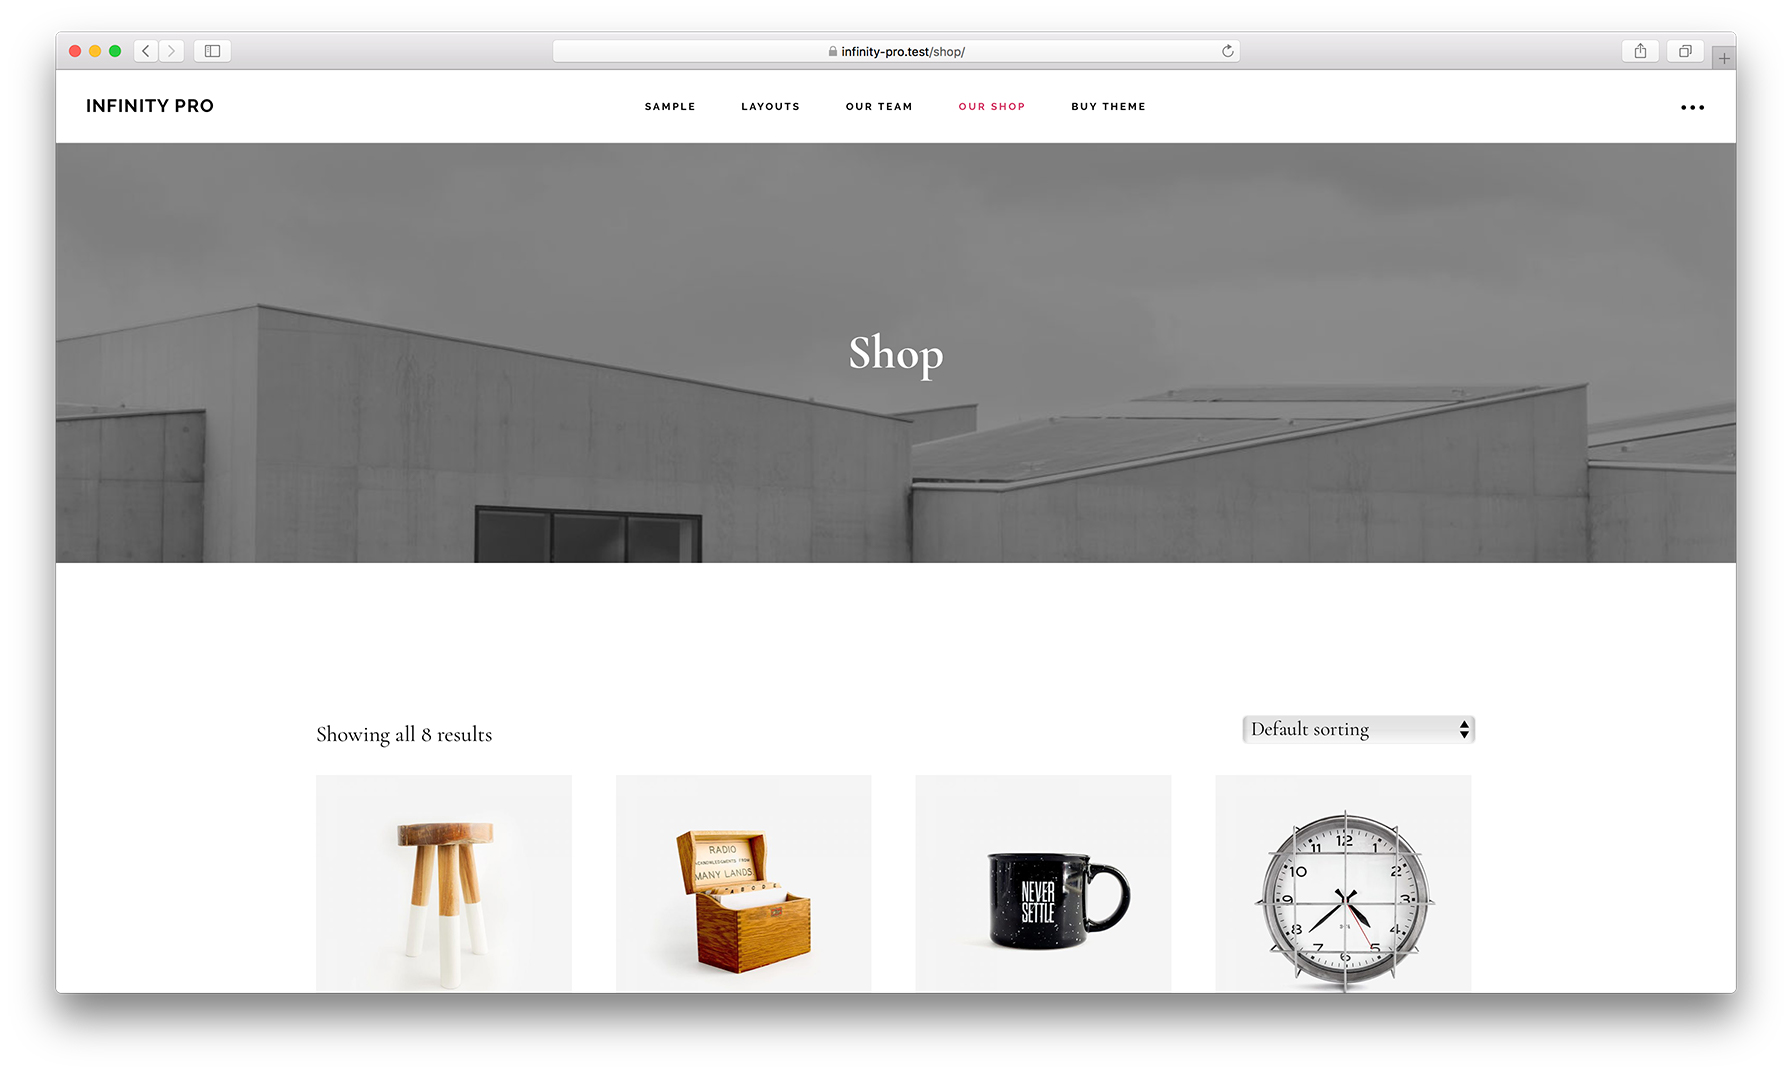
In this tutorial, we are going to add an image type Media Control in the Customizer so that a banner image can be set which would be made to appear on the Shop WooCommerce product CPT archive page.
The Shop page > Shop page Banner Image will be set to appear in the Customizer only when the Shop page is being viewed in the right side panel.
We shall
- add a section, setting and control in the WordPress customizer.
- add Genesis archive settings support to `product` CPT.
- register custom image size for banner image on the Shop page.
- add `has-shop-banner` css class to the body element if WooCommerce is active and if we are on the Shop page and if the Shop banner image has been set in the Customizer.
- relocate headline and description on the Shop page.
- remove the default page title on the Shop page.
- wrap the Shop page's CPT archive headline and description in a custom div tag using the `genesis_markup_cpt-archive-description_open` filter hook.
- display Shop banner image (if set) after CPT description.
- use absolute positioning to overlay the shop page intro centered on top of the banner image.
While the tutorial has been written for Infinity Pro, it should work with a few adjustments in any Genesis theme
Step 1
Add the following in child theme's functions.php:
To view the full content, please sign up for the membership.
Already a member? Log in below or here.

