In the members-only forum, a user asked:
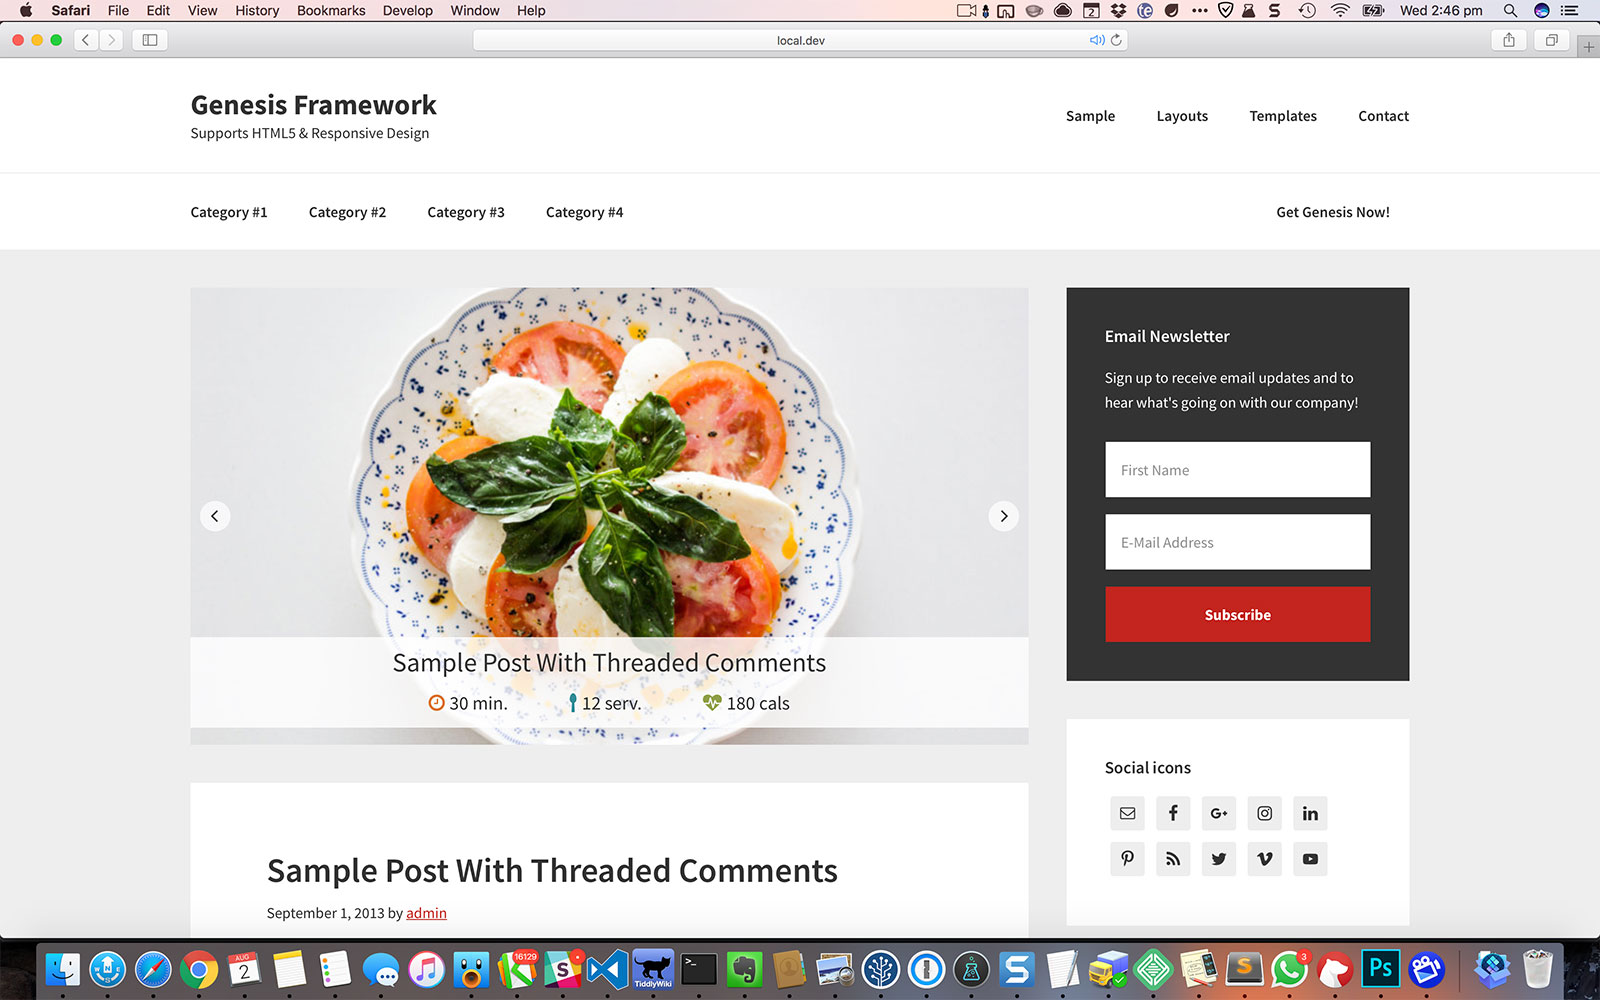
I would like to pull post-meta info below the post title of the Genesis Responsive Slider so that it looks similar to this: http://picpaste.com/ET_-_redesigned_homepage-isbAUeRF.jpg
Ideally I’d like to specify the Advance Custom Fields data as I have customized the post-meta to include that but I can probably hide what I don’t want to display in CSS if needed and if it’s more broad to give a tutorial on including post-meta as a whole.
We can create a custom template for Flexible Posts Widget to output the post title plus custom fields and initialize jQuery lightSlider on the query output to automatically display a posts slider in Genesis.
This tutorial provides the steps to
- register a custom image size for images in Posts Slider
- register `home-featured` widget area
- display `home-featured` widget area before loop (i.e., above posts if front page shows blog posts) on the front page
- load the files needed for lightSlider on the front page
- load Font Awesome for the icons to the left of custom post meta and the slider left/right arrows
- create a custom template for Flexible Posts Widget with entry title and custom field values (if present) linking to the entry's permalink
- initialize lightSlider on ul.posts-slider
- style the slider so it's responsive
Screencast:
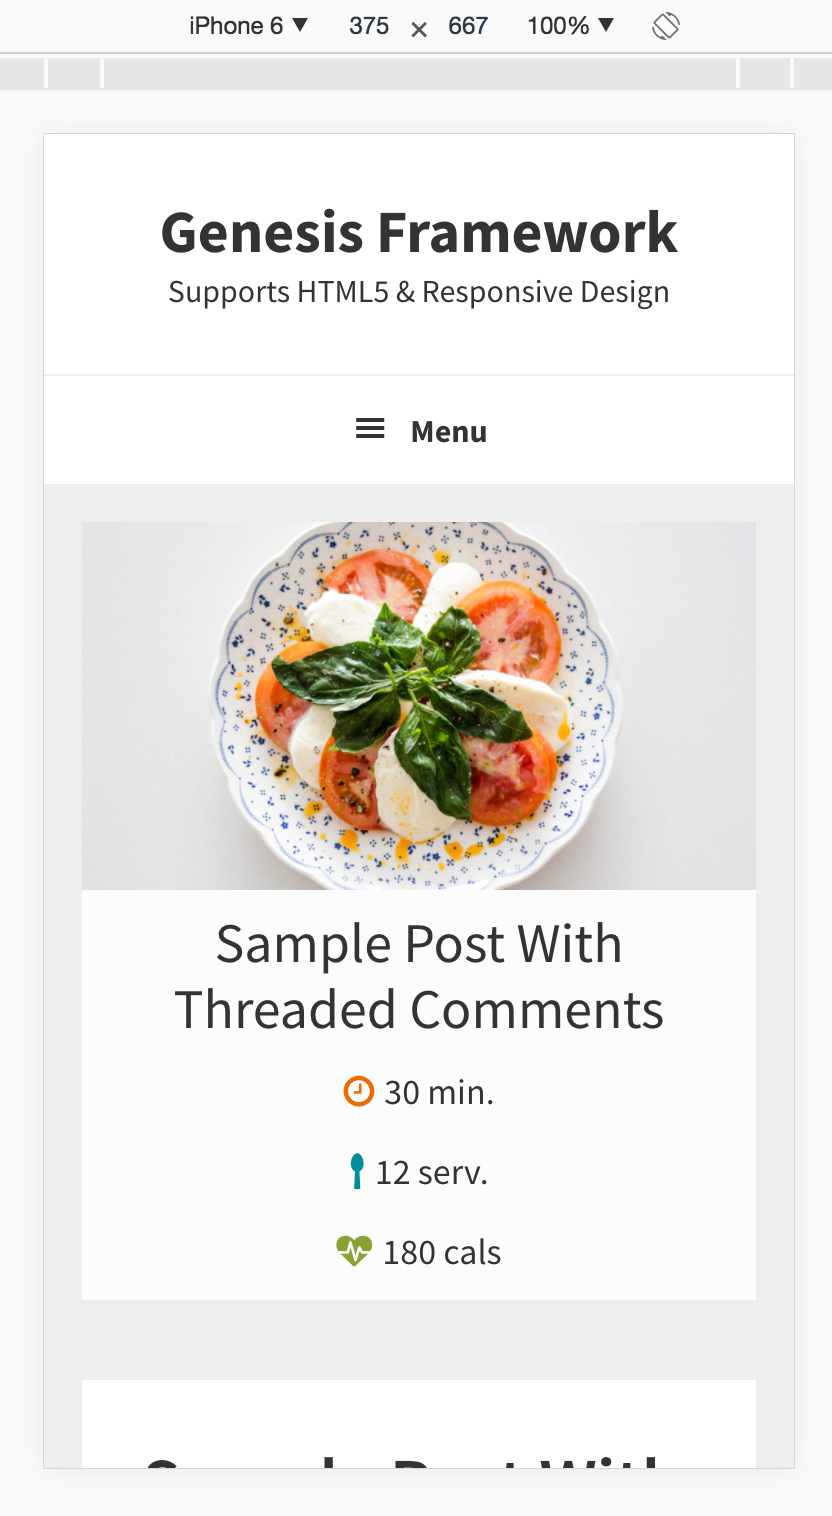
At smaller widths, the title and custom meta overlay will be set to appear below the images.
This can be applied to pull not just the standard Posts, but also any post type or specific entries by their ID or those belonging to a specific taxonomy.
Step 1
Install and activate Advanced Custom Fields.
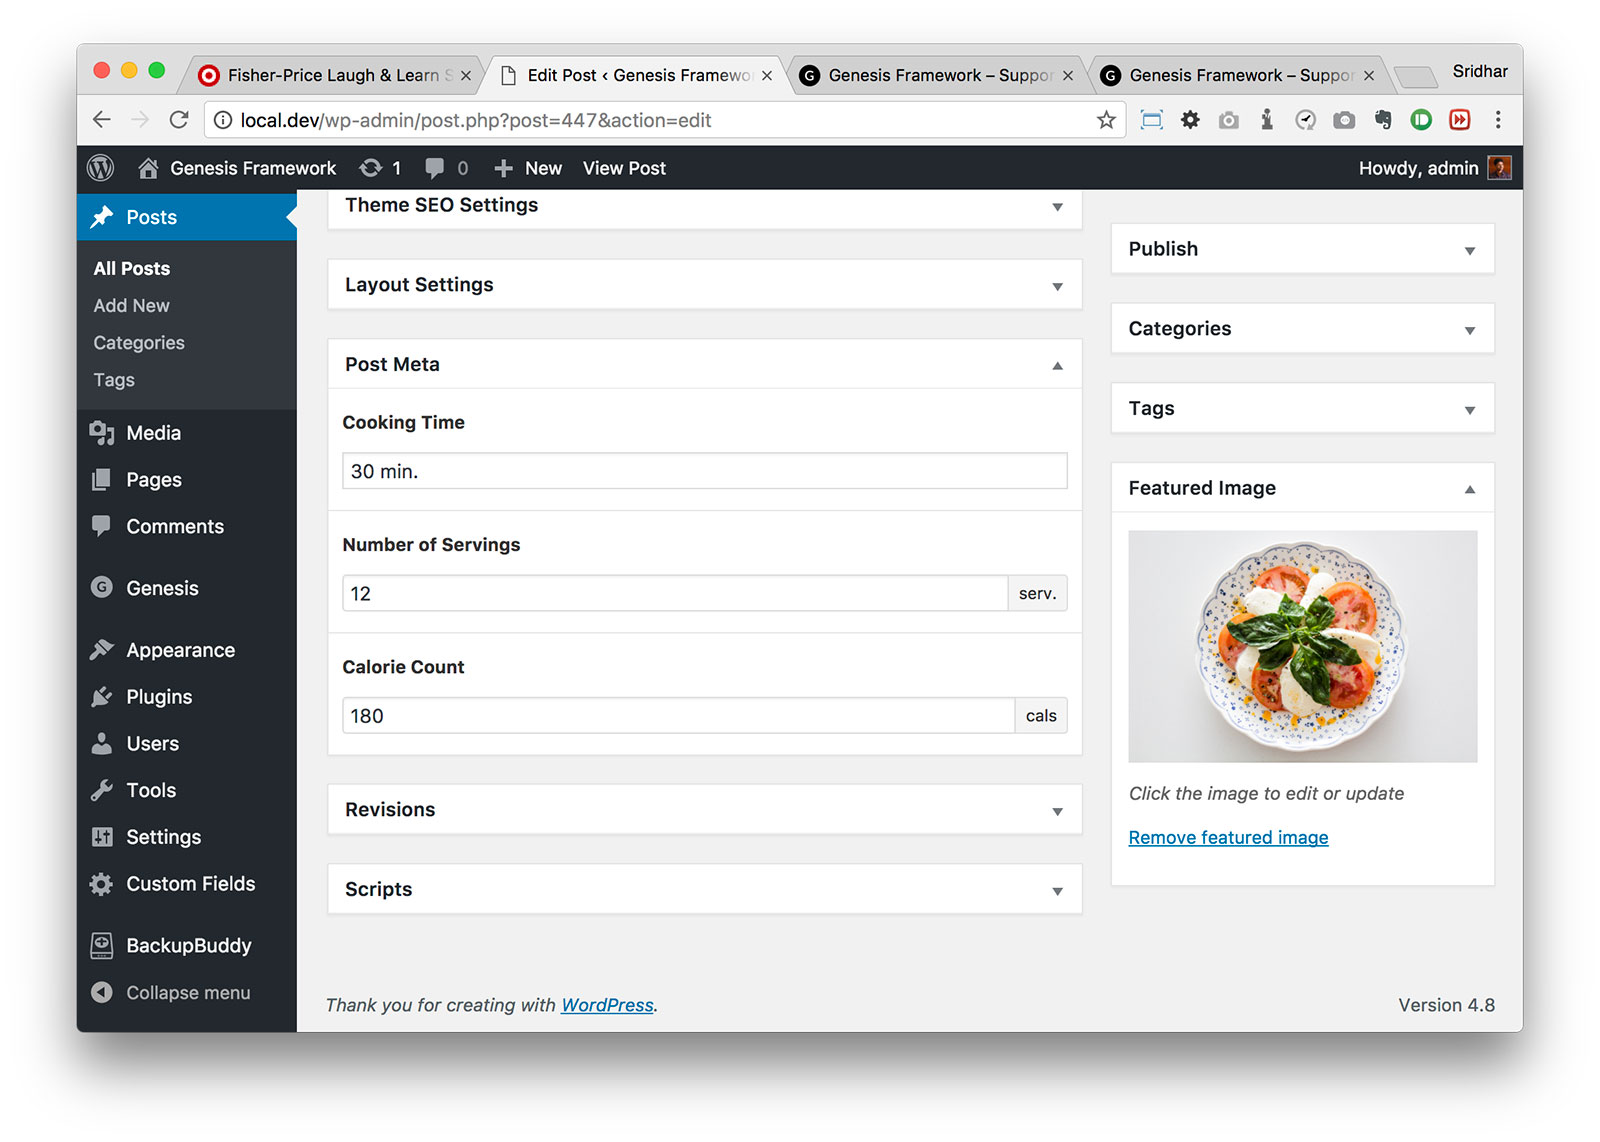
Create a new field group named say, "Post Meta" having your custom fields and attach (set to appear) it to your post type.
Ex.:
Cooking Time - Text
Number of Servings - Number
Calorie Count - Number
Here's (mirror) the export file of the field group used in this example.
Step 2
Add/Edit your entries (Posts, in this example) and attach a featured images and fill in the custom fields.
Step 3
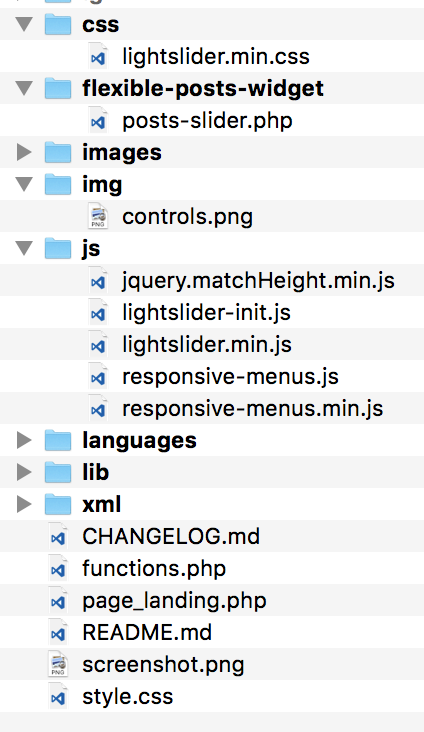
Upload lightslider.min.css to child theme's css directory (create, if not existing).
Upload lightslider.min.js to child theme's js directory.
Create img directory and upload controls.png.
By the end of this tutorial, the directory structure should be something like this:
Step 4
Create a file named say, lightslider-init.js in the child theme's js directory having the following;
To view the full content, please sign up for the membership.
Already a member? Log in below or here.


